Finally!! I'm dubbing it "Spring Basket Blues".
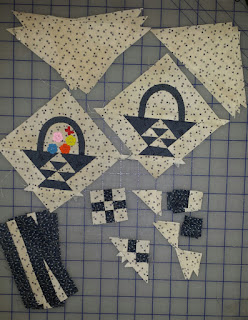
I had talked about the start of this little project back in May. It's one of the monthly mini quilt kits from Piecing the Past Quilts. For my version, I decided to add an embellishment of cut flower buttons I purchased from Aiming For Accuracy. When I last posted, I had pieced the basket blocks and some of the sashing....
Once I got the top finished....
...I needed to age the buttons.
I used some brown craft paint and lightly brushed and wiped off the buttons until I got the bright colors toned down enough not to contrast as much with the reproduction fabrics.
Before
After
Oh and the little butterflies? I hope I'm not the only one that saves the plastic pin heads when they break off....
With the top done, next up was the backing. I had noted in the previous post that I had plans for an elaborate back. Unfortunately, the math and the amount of fabric I had left weren't a match and there was nothing in stash that I liked with it so I went with the solid cream back that had been provided in the kit. Fortunately I also had a scrap piece of batting just the right size to fit. One thing I love about making a mini quilt is that I can spray baste it and then it's on to the Quilting!
With everything basted, I knew I wanted to find designs to fill the open corner and side triangles. Looking through my quilt books, I stopped at Eva Larkin's book "Free Motion Quilting Made Easy". In it she has stitch patterns that are designed for use in square blocks. However, she notes that if you need to fill a triangle or a rectangle you can just stitch half of the design! Brilliant! I went though the whole book and narrowed about twenty potential designs down to two to stitch out. Then the debate was whether to go for "subtle contrast" with the thread or use a matching one --- I admit I chickened out on this one and went with matching (especially since I was doing the stitching on my old back up Euro-Pro machine and not my Janome). That makes it easier to hide the mistakes but harder for me to get a shot where you can actually see the stitching (as noted in the picture at the top of the post).
There's more to do and more to see, so back to stitching for me!
Edited 7/10/17 to Add:
In light of my posts that started at the end of last year on labeling quilts, I figured I should include the one I made for this one. This was a fun way to use up more of the kit fabric and a chance to use my Accuquilt Go! Alex's Baskets BOB* die. Still batting 100%!!
*BOB = Block On Board
(To see all the posts on labels click here.)


3 comments:
Nice work Vivian! I love the buttons and butterflies :)
Oh that looks so lovely on your wall..I think you made a beautiful choice with the buttons ..made it special and "yours". Nice work hugs, Julierose
It's a sweet finish and especially enjoy seeing where it will now "live".
Post a Comment