Tuesday, September 13, 2022

Summer Recap: June

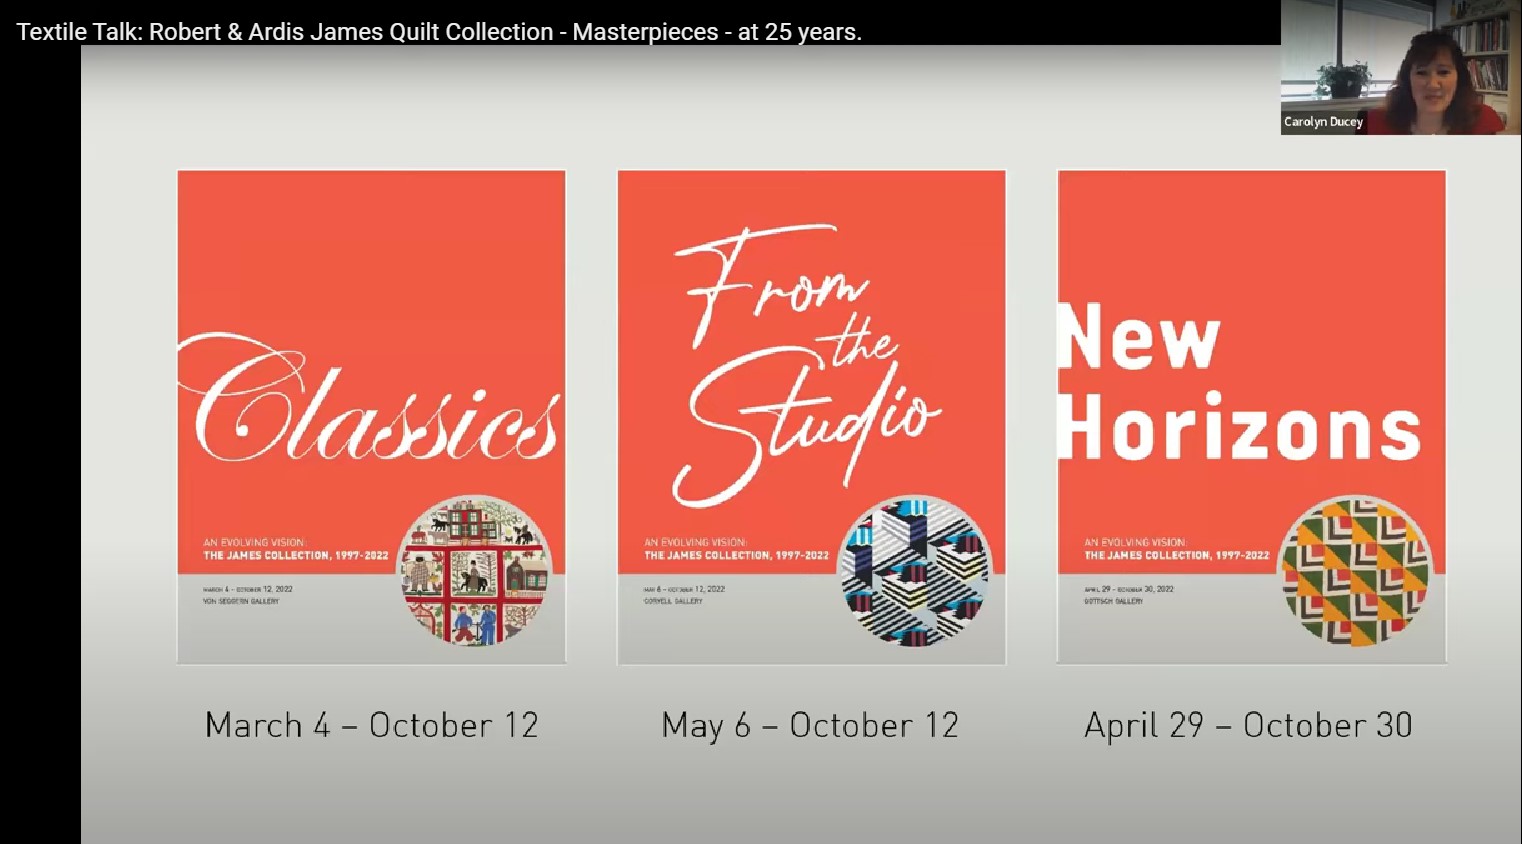
 June started off well enough!  On the first day of the month, I got to see the International Quilt Study Center Textile Talk on the 25th Anniversary of its founding.  The museum was started with quilts from the Robert & Ardis James Collection.
Once the month got underway, I set out the Red, White and Blue quilts for the Summer season.  I soon realized that two spots needed some additional pieces to fill some decorating holes.  The first of those was at the top of my entry staircase


When I had some of my Civil War reproduction quilts hanging in this spot, I used to have a piece on the wall next where I now have hung my "Hometown USA "quilt.  

When the "Pioneer Sampler" and "Honoring the Journeys" hung in the same spot.

I thought it would be a simple matter to make a small RWB wall hanging to add to that open spot.  

Americana Lone Star

It can be fun to look around for inspiration for a new quilt project.  However, sometimes you find out you already have what you need!  I started my search on the All People Quilt website (for the American Patchwork and Quilting magazine) since they often post compilations of "theme quilts" that showcase designs (or color options of designs) that have appeared in their past issues.  Almost immediately in a slideshow of "Patriotic Quilt Patterns", I saw a design that I knew I had already downloaded a few years ago.

The "Americana Lone Sar" is a one block color option quilt made by Laura Boehnke.  It was inspired by Laurie Simpson's "Reach for the Stars" quilt design that appeared in the APQ October 2008 issue.  

Laura's color option is of one of the corner setting square blocks from this quilt.

The possibility of making this one excited me for two big reasons:

#1:  Making a Lone Star project is one of the last six things on my original quilting "Bucket List".  I do have two Lone Star projects already "fabric funded" that have long been waiting to be started.  However, both of those are bed-sized quilts so would take a lot more time and focus to get underway.  I figured that this project -- essentially one big block -- would be easy to make and get done quickly.  

#2:  I liked the color scheme of this one "as is" and knew I had fabrics in stash that I could use to make it up.  Needless to say that is always a "start your engines" sign if there ever was one!

When I sat down and reviewed the pattern though, I realized it made a quilt too big for the space where I wanted to hang it.  I figured out that if I made it using smaller blocks (6” corner blocks rather than 10”), it should fit my space.  However, then I wasn't sure what size strips to use to piece the center Lone Star.  I assumed that 1-1/2” finished (2" cut) strips would do it since the strip sets use four strips but I needed to run a test to be sure.  

I had a limited amount of the fabrics I wanted to use for the project so didn't want to dip into them for the test.   Fortunately, at the time I had also embarked on yet another project that I was hoping to make up to use for Angela Walters' (then) recently announced free-motion quilting challenge.  I planned to make that one up in shot cottons (more on that later).  I had a healthy enough stash of those fabrics to do both the FMQ project and the LS test.  I picked some colors of the "shots" from what I was already previewing for the other project and cut enough strips to sew up two star points to test the size.  (Darn it!  I didn't take a picture of those but you will see the finished block I made with them in the recap post for July).  

Ultimately, my assumption on the strip size proved right although I also tried a slightly smaller width strip set as well.  I pieced the corner Lemoyne Star blocks using my favorite Deb Tucker "Rapid Fire" ruler and instructions.  

I also wound up cutting a new set of the diamonds for the outer star points of the center Lone Star.  I had used a striped fabric in that position and wanted the stripe to be centered and run out out to the tip.  I thought I could do it with strip cuts but when  I pieced together the strip set that included those points, it didn't work.  I had to go back and fussy cut the points individually to make them go the way I wanted.  

The most difficult thing in sewing this up was to get the seam allowance intersections in each star point to line up!  Even after re-sewing them a few times, I still wasn't quite happy with the results.  Fortunately, I found a tutorial on making Lone Star blocks that provided the key to a better pieced block:  pressing  the seams on the strip sets open to make it easier to line up the intersections using pins.  In addition, it's better to mark the top seam allowance from the wrong side (I had been marking both on the right side).  

When I tried it that way (after going back and pressing open my “pressed to one side” seam allowances), the result was so much better!  The downside was that it made it much slower going to get the star points done. 

In the end that worked out well enough for this "quick" project.    My Lone Star is like so many I've seen described:  it's not exactly “flat” and bubbles a bit in spots.  The condition was helped a bit by a good press but I expect that I will also have to try to “quilt it out” later!  I added borders in the same way that the pattern did although I wound up having to adjust the width of the borders I originally cut when they visually seemed to overwhelm the center.  

I had decided that another way to help "quilt out" any puffiness would be to use a high loft batting.  I didn't have any on hand the size I needed and didn't want to cut into a larger batt.  However, I did have leftovers of two battings that together would give me the loft I wanted. 


 For the backing, I decided to just use a leftover piece of the background fabric used in the setting star blocks.  With everything now ready for quilting, I set it aside to work on some other things and then I would come back to quilt it.  Unfortunately that hasn't happened yet!  So despite embarking on making this to display this year, I hope I can finish it up in time to display next Summer!  

I didn't get to work on the project for the second spot to be filled until July so will talk about that in the next "Summer Recap" post

Inside the Box

In addition to trying to get quilting practice using the "Realigned" project, in May Angela Walters announced that another of her Free-motion quilt challenges was to begin late in June.  The theme of this challenge is "Fillers" - repeating stitch patterns that can be used to fill a background or around applique.  Multiple patterns can also be stitched together across an area creating the look of "graffiti quilting".  I loved the idea of this since her Fall challenge had been such a boon in getting two quilts done earlier this year.  I still need to get more comfortable quilting my projects on the mechanical machines I use now so I really need to do the quilting on my projects more frequently.  

At the time, I had planned to use my Gee's Bend quilt top to do the challenge because I again wanted to use a top that was divided into large open sections of various sizes.  However, that plan (like so many of mine) wound up changing completely!   I already had a plan for stitching the Gee's Bend top as well as what color threads I wanted to use on it.  I just didn't see any of that working with the "Filler" practice.  Then I remembered a pattern I had found many years ago:

This is "Inside the Box" designed by Jenny Rekeweg which appeared in the Quilters World issue from August 2013.  The patterned quilt was made up in shot cottons and at the time I originally saw this I wanted to stash those.  So I watched for sales and specials and over time built up a good stash.  Ironically, the way the finished quilt was quilted in the magazine corresponds to exactly the types of motifs Angela would be covering in her challenge.  

Quilted by Krista Withers

Additionally I love that I would now finally get to use that stash (well, I did use a bit of it to make a mug rug gift many years ago which can be seen at the bottom of this post).  Even better, this would further my efforts to improve my quilt stitching comfort.  I pulled fabric I had in that stash that corresponded to the color blocks in the pattern:
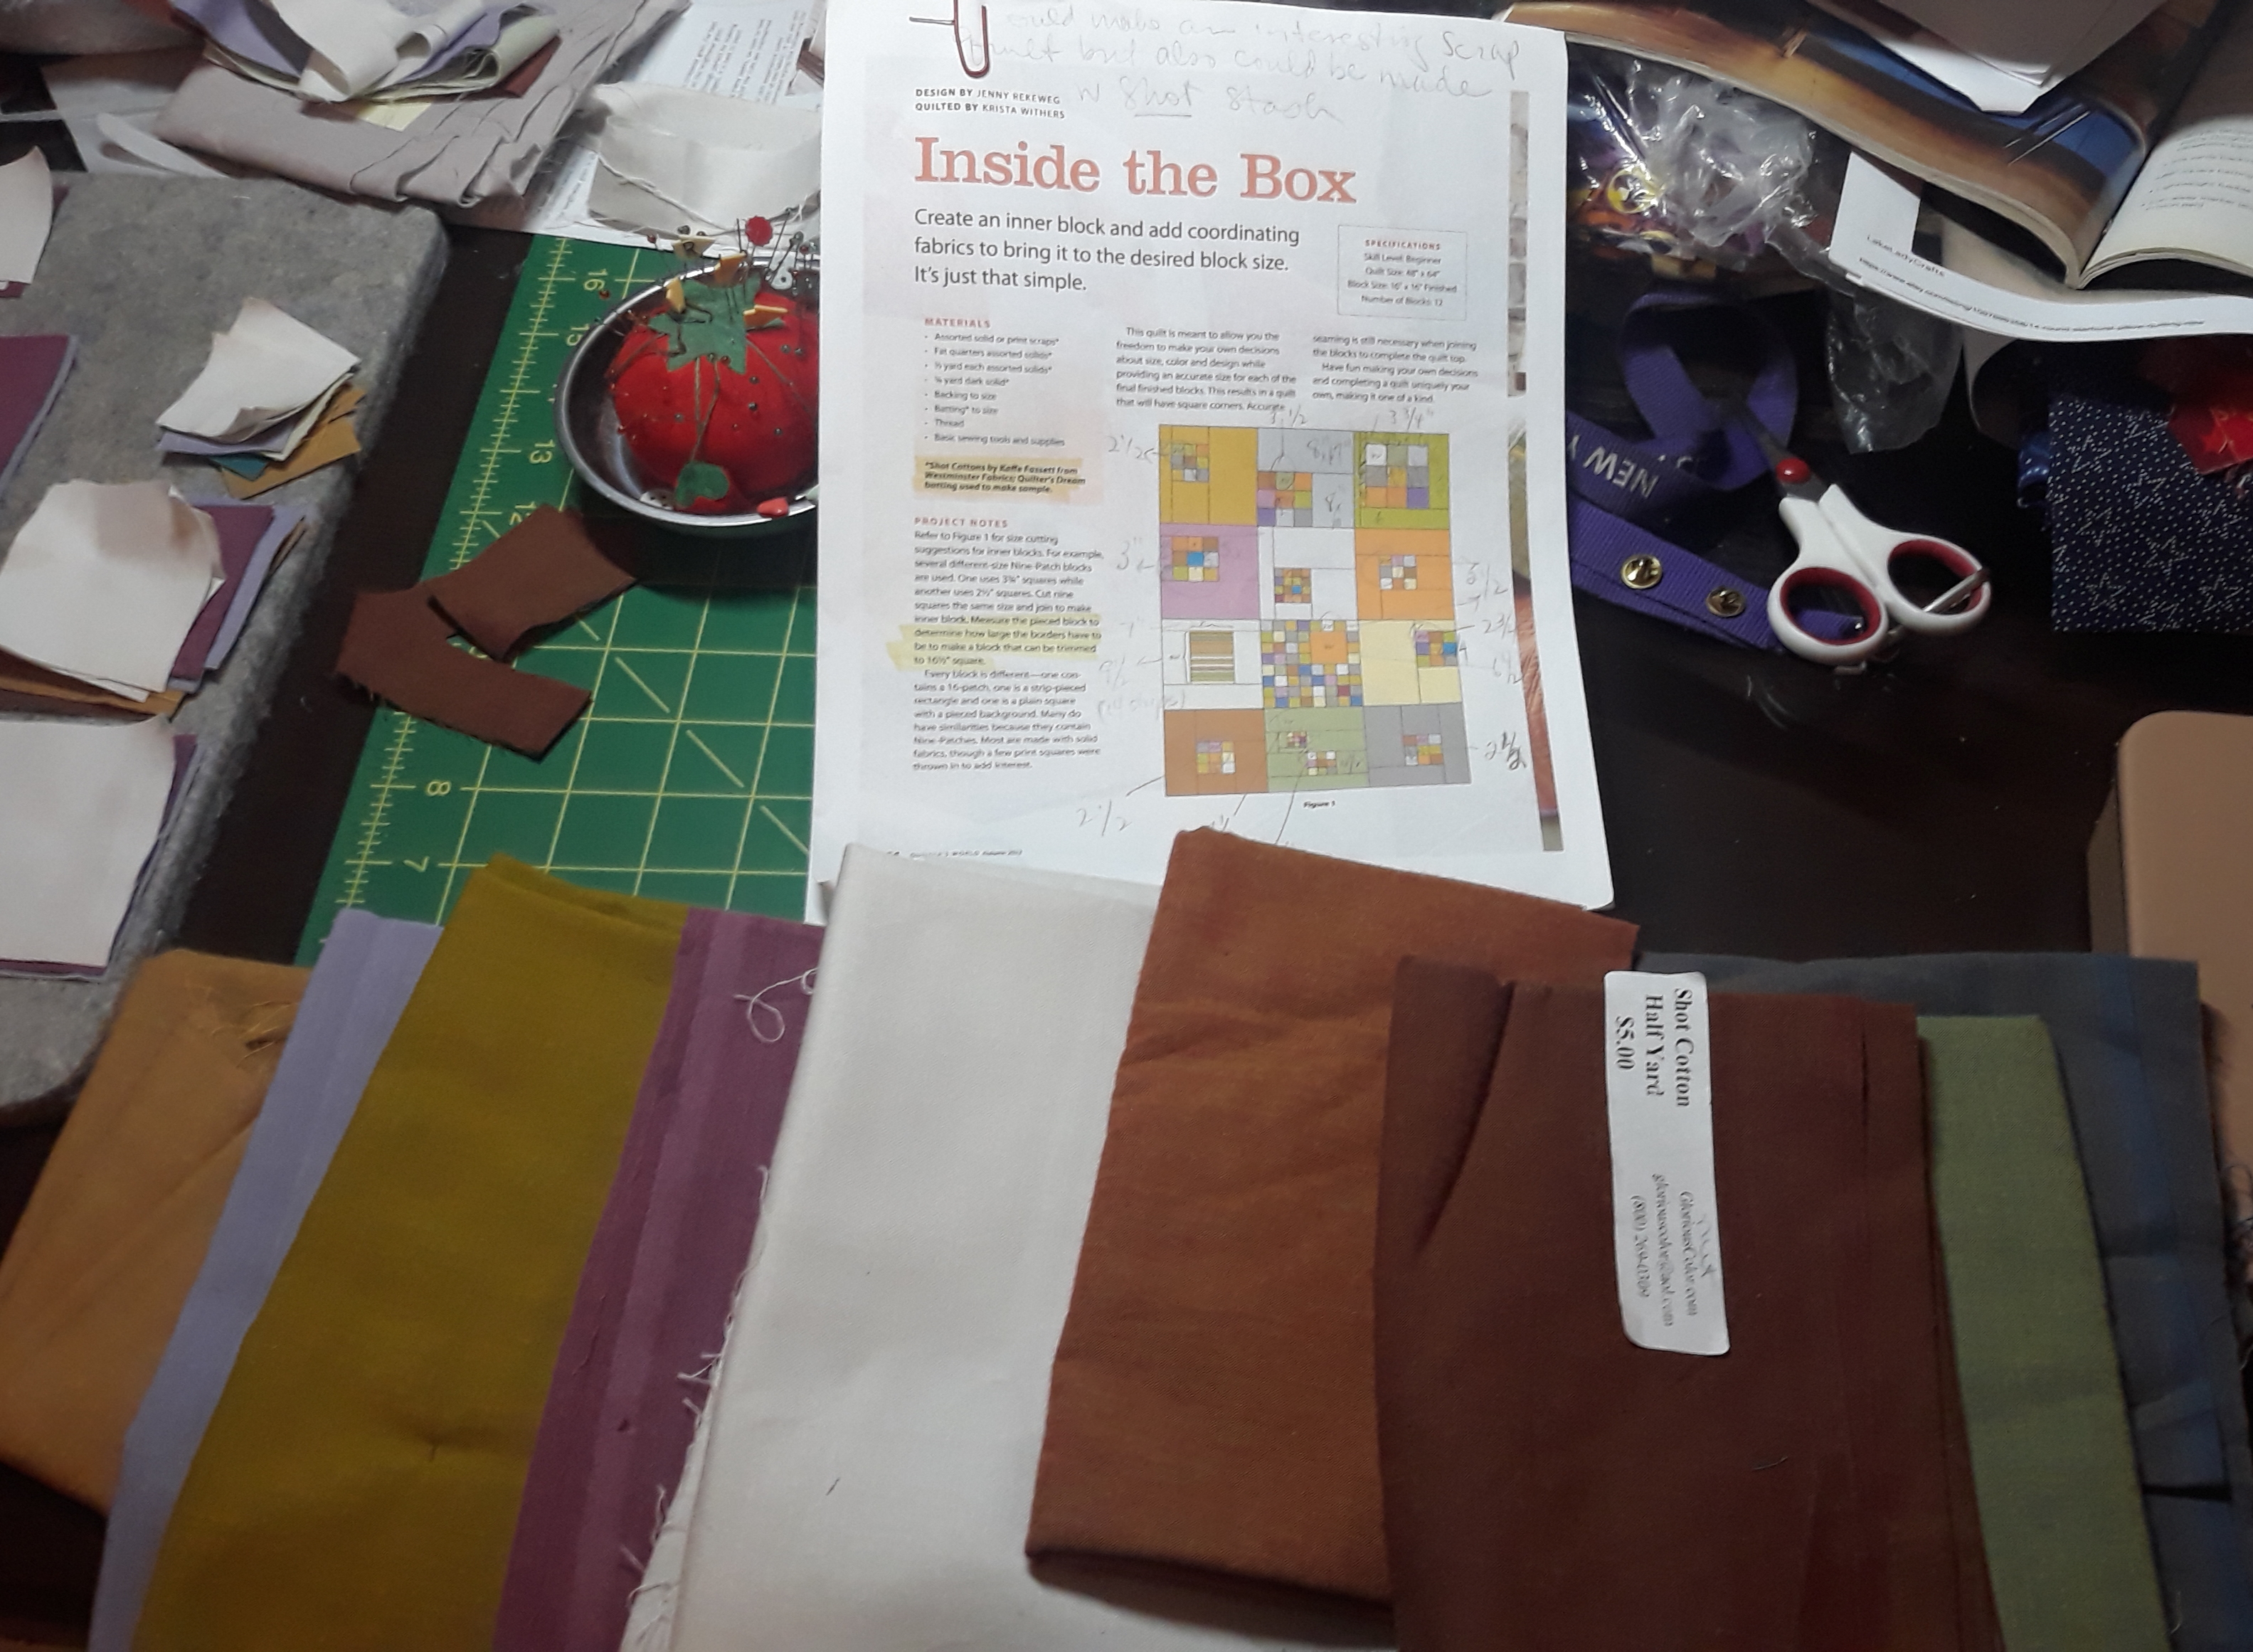
I decided I needed a few more colors to make this work so ordered them.  As a result this project then moved forward into July to be continued.  More on that in the next post!

Thursday, September 8, 2022

And as to the current projects.......

 APQ Scrap Happy QAL

This week I continued with the quilt along .  For Week #2 we have to prepare HSTs with one light side and one dark side.  Their instructions called for layering two 2-1/2" squares, sewing across the diagonal and then cutting 1/4" away on one side which leaves you with the HST and two small bonus triangles.  Instead, I had a number of other ways to accomplish this step.

1.  Pull out any already pieced 2-1/2" F HSTs.

Okay I only found two of those.  It's a start......

2.  Pair 3" squares together to make two HSTs

 I have 3" squares in my Scrap Users system so I pulled the bag of those from that bin and began making 2-from-1 HSTs out of them.  It works out the same as if I started with 2-7/8" squares just now I have to trim them afterward so they are an unfinished 2-1/2" square.  That is unless my seam allowances are not great in which case they may be just fine when finished sewing!

I also have a bag of my MIL's scraps in that size.  When we visited her, if I was working on a project and pulled scraps from what she had set aside for me, I would process what ever was left from the same scrap and cut it into the sizes I collect.  So I bagged up any leftovers into 1-1/2", 2", 2-1/2", 3", 3-1/2" and 4-1/4" squares or strips.  That last size is for making scrappy 3" finished Quarter Square Triangle blocks.  I'll also do 4-1/2" squares if I have a scrap project already picked out that needs them.  Last thing to save are 5" and 10" squares if there is that much left of a piece after I cut what I need for the project I am working on.  Even as I am processing scraps for this project, I am doing the same.

3.  Find scrap triangles the size needed and sew them together. 

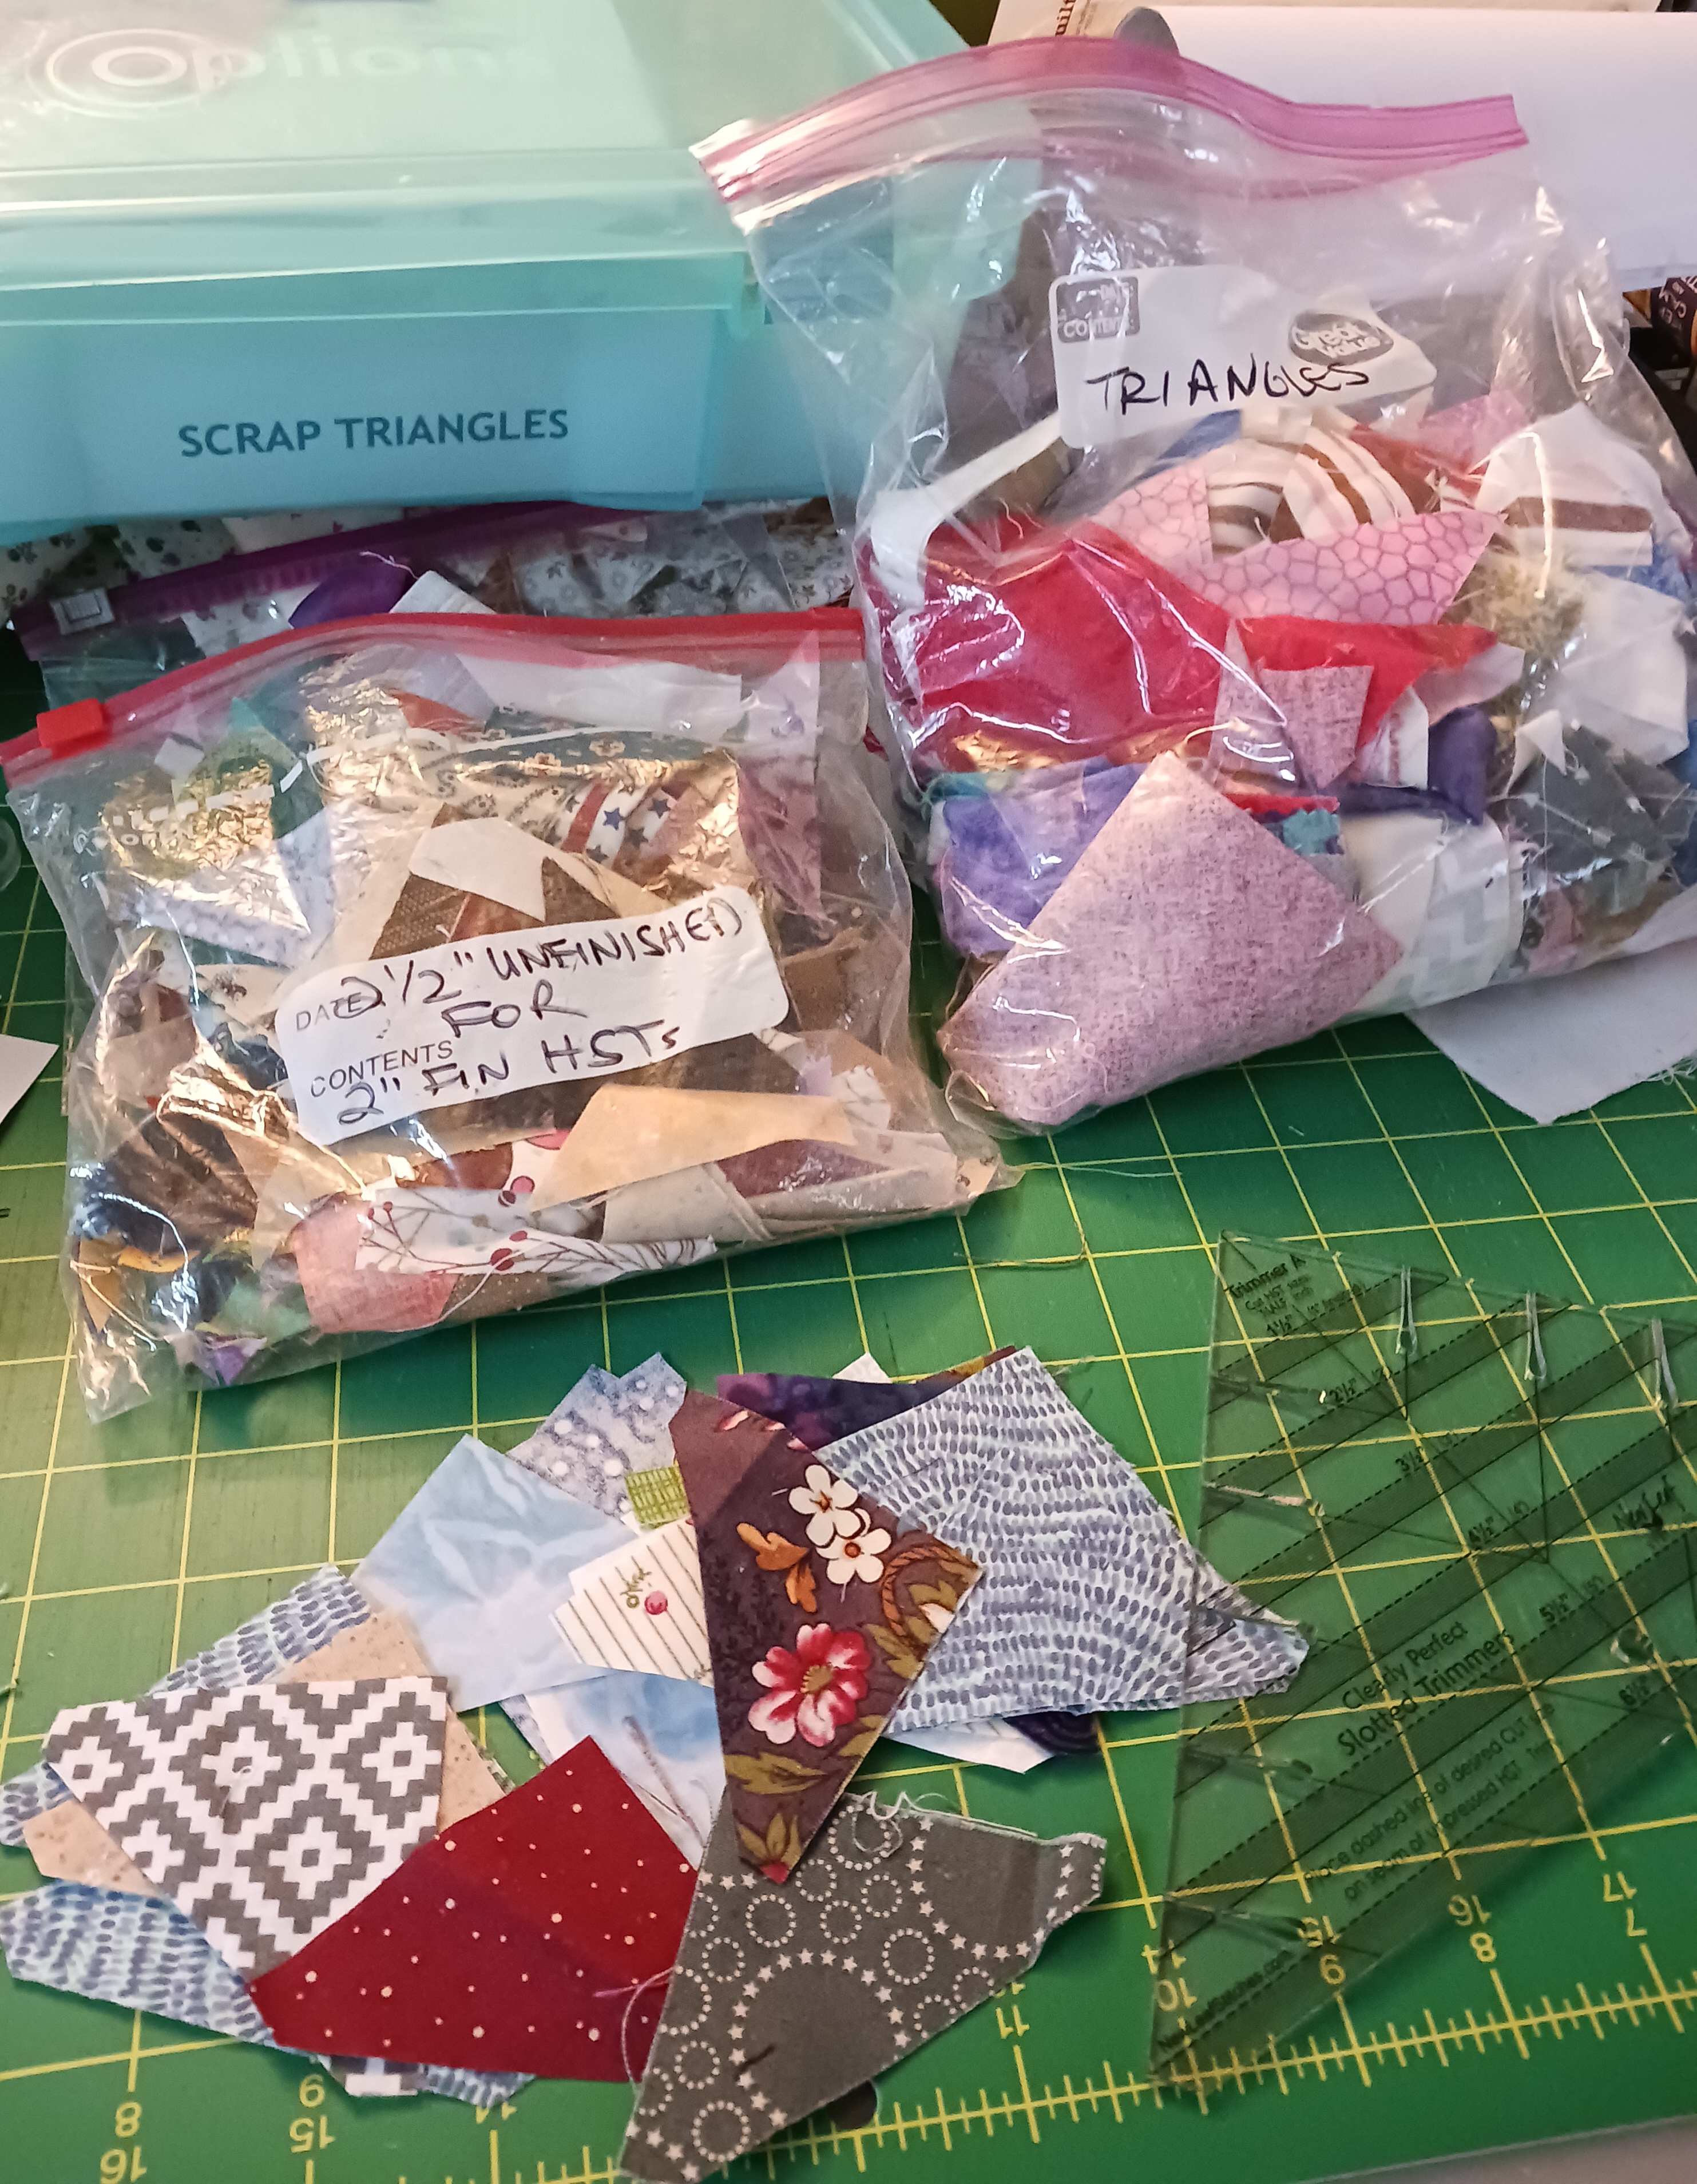
No worries there, I  have a Triangle Scraps bin  where I put cut off triangles.  I do my best to sort them into baggies by size and had one with the size scraps I need already sorted out.  I also had put aside triangle shaped scraps (of all sizes) when going through scraps my MIL passed along to me.  I will need to do some more sorting to see if I have anything of use in there.  

I also had some scraps I was able to take from my as-yet-unfinished Scrappy Figs BOM project.  The pieces were large enough that I could die cut those the size I needed with just a few passes through the Go! machine

I also remembered that a while ago I purchased the "Clearly Perfect Slotted Trimmers" which will make trimming up both the pieced HSTs and the cut off triangles easier to bring to the right size.  

Christmas Quilting

I am also trying to get a head start on my holiday quilting and am doing it with the easiest of the projects planned.  I've long wanted to make the "12 Days of Christmas" mini quilt that was a sew along designed by Sheryl Johnson of the Temecula Quilt Company all the way back in 2012.  

Sheryl's quilt from the SAL

It has been so long since I first learned about it that I now need a version for three different decorating color schemes!  Of course, the first one needed is for the traditional Red and Green color scheme.  Since I decorated in Blue and White last year (and may do so again at some point in the future) I also want one in that color scheme.  The plan for this year's color scheme is Red and White so needless to say, now I need one like that too!

How Sheryl's design works is that the blocks for each day have that number of pieces in it.  I had begun collecting the red and green scraps a few years ago but just never got around to making the quilt.  When I managed to do the blue and white scheme this past Christmas (after originally planning it for 2020), I again put aside scraps and vowed to make both but that didn't happen.  So I as I am gearing up the projects for this year, I sat down one day and raided the scraps and stash and put fabrics aside for the Red and White version.  Now all I have to do is get them made up!  

So far so good, let's see if I can keep up!

That's what I've worked on so far this week.  I'll keep plugging away and try to get more of those HSTs buttoned up before the next phase of the APQ quilt along starts next week.

Tuesday, September 6, 2022

Summer Recap: May

I hope you had an enjoyable Labor Day weekend!  Now that we've finished celebrating the end of Summer, it's time for me to start looking back on what I did during those very hot months!

May was definitely packed full with many plans, much quilty eye candy around the web and many competing quilty aspirations.  The heat also caused a lot of garden guilt.  I only went out to our community garden on the two days my DH and I worked the opening shift and one other day that month.  It was so hot, I preferred to stay in the cooling A/C whenever possible.    

Thank goodness there were bright spots though:  it was my birthday month and on the Memorial Day weekend DH and I went up to the town where we camped last year to see the opening of their  Transportation History Center.

I also finally took the cover off my terrace table and finally got my terrace planters set up.  

Never did get around to hosing down the deck though.  It was just too hot to sit out there!  

With all that staying inside, there were a few quilty things accomplished:

Back in April, I had talked about the Harry potter quilt I was making for my son.  I did manage to finish the last two paper-pieced blocks I wanted to add to the quilt center.   

PP Block Designs from Fandom In Stitches 


While I liked the stone print I used for the castle block,  the scale of it was too large for the five inch size of the block.  I had used some gradient fabrics for the Sorting Hat block but the effect didn't really translate --- again due to the scale of the block.  

However, I'm still happy with the overall look of both so was prepared to just move on.  I had hoped to complete the layout of the center of the quilt before taking it down from the design wall but eventually realized that it sitting there wasn't encouraging me to work on it or anything else for that matter!  

That month, I also managed to finally get started on the "Realigned" blocks that I want to set up for quilt-as-you-go free-motion quilting practice.  The idea was to do this as a daily practice but making and then layering the blocks was a lot slower going than expected....

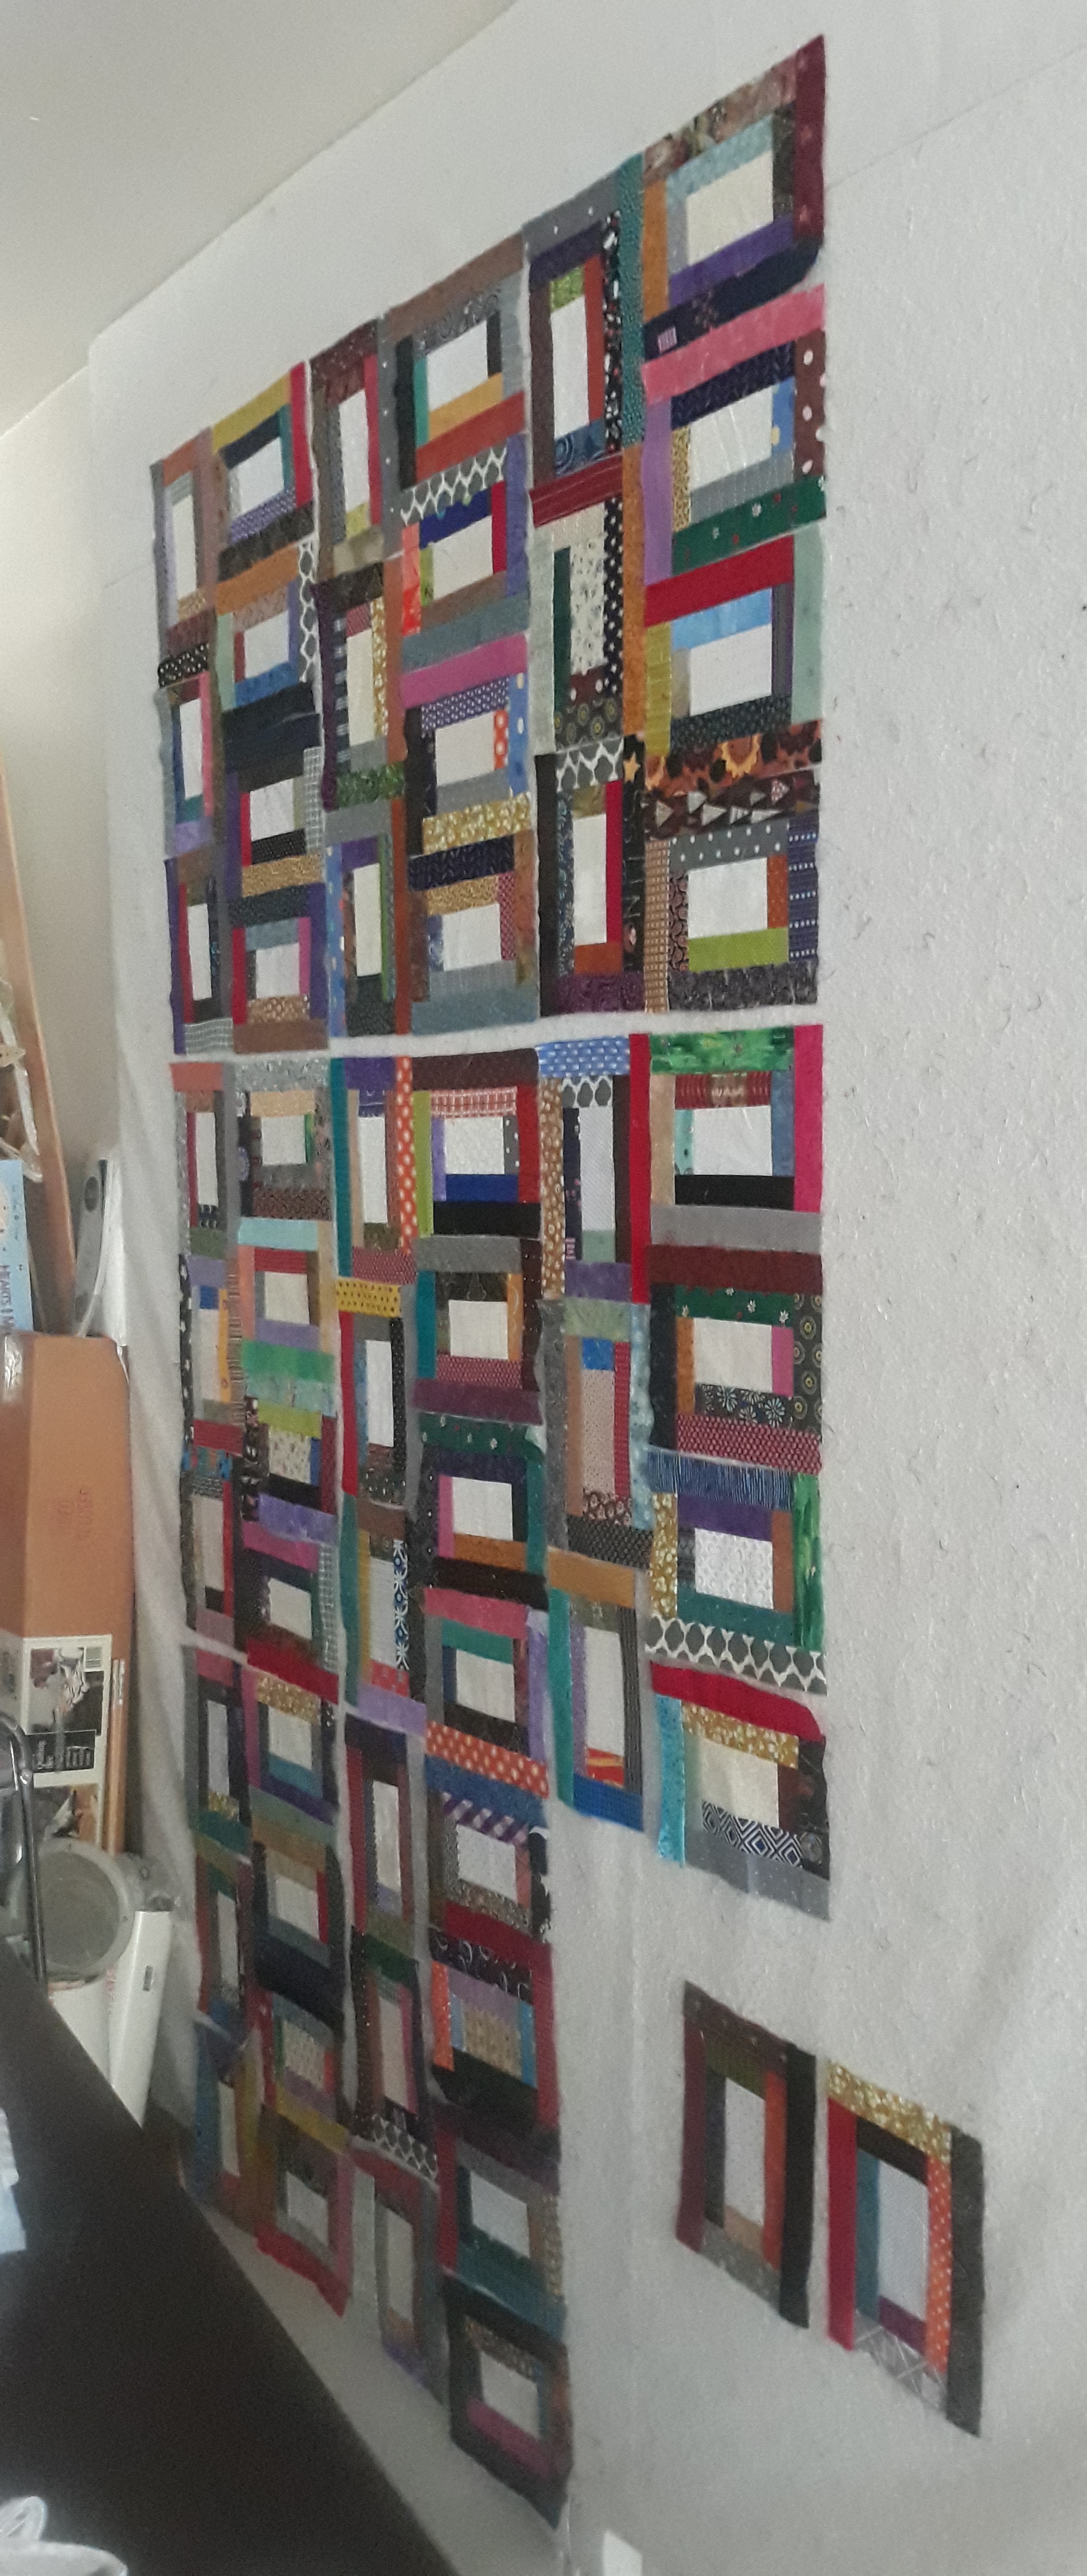
Figuring I could "kill two birds with one stone" when I pieced the blocks, I leader/ender-ed them with my RSC Rainbow Log Cabin blocks that I also wanted to get done:

Needless to say that neither set was completed that month.  So I switched tasks again and got the "Quick Strippie" backing for my "String Beans" top made up.  I am still trying to finish up my version of this Pat Sloan "March Block A Day" QAL project.

Backing Plan: Free Pattern from MaryQuilts.com

I had to widen the back design....

....to fit the top finished in April.

This keeps up with the trend this year for pieced backs.  I had hoped I'd then get right to quilting this but I couldn't decide whether I cared if the quilting complemented the front more or the back.  So that debate stopped all progress on that project. Okay, that's the danger of pieced backs!

The biggest disappointment that month was that I had really hoped to layer and quilt "On Ringo Lake".  I didn't get to it and of course now I'll have to edit the label I pre-printed whenever I do get it done.  

Won't be the first time I did that! 


I had a feeling that pre-printing the finish date would bite me in the butt and I wasn't wrong!  Once again, this comes back to needing to focus.  I can't do it all even if I really, really want to!

I had also hoped to restart work on my 2020 Scrappy Figs BOM as well as start on two new ones I signed up for:  Quiltfolk's "Patchwork & Prose: A Bookish BOM", and Minick and Simpson's "Blue Pear" (the link is for when they announced it on their blog at the beginning of the year).  Of course none of that happened either, sigh!  I will say though, if you are on Facebook or Instagram, check out the blocks made up so far for "Bookish".  People have really been doing some wonderful work on their improv book cover quilt blocks!

Turns out I'm actually glad I didn't get started on the "Blue Pear" because since then, I've decided to change it up a bit and add touches of red --- using M&S fabrics of course!  I got that idea as I watched Pat Sloan's daily videos.  Until recently, she had her "Hometown Charm" quilt hung up on one side of her studio so I often saw it behind her onscreen.  There was something about it I liked but not enough to want to make it.  Then I realized that what I am attracted to is the color combination she used:  Red, White, Blue and Lime!  Well, why not add red to the "Pear" and make that happen!    

Can I give this one a little of the "flavor" of that one?

That hasn't happened yet and I'll have to see if any thing comes of that bit of inspiration in the coming months.

I saw that the RSC color for the month was Blue and since I did that last year, I didn't need it for any of my continuing projects --- well maybe I could have made more of the scrappy hexagons.  

However, I didn't really stress about not keeping up on that.  Yes, the Summer started off with a bang!  Believe it or not, there is more to come in the next Summer Recap which I'll post next week!

Monday, July 4, 2022

Happy Fourth of July!


Made to fill a display space during these patriotic months.  Hoping I can get this quilted before the summer ends and it's time to put up the Fall displays, LOL!!   Enjoy your local fireworks!! 

Saturday, April 30, 2022

April Recap and As Usual A Lot of Changes In Plans.....

Can you believe that April is now over?!?  This year is going by just too fast.  For a month in which I thought I had clear plans, things just tumbled and jumbled until where I came out in the end was not where I planned to be in the beginning!  

The Raffle Quilts Were A Bust

So I knew it was a long shot when the month started but I had hoped that it might still be possible to get the raffle quilts for my community garden's opening day made up.  Nope!  I continued to have an issue with the basket blocks coming up a wee bit short of the patterned size.  And of course since I was now rushing to try to get this done, I also did things like this:

So before too long, an Executive Decision was made to "Abort Mission!"  Since I had not promised the quilts, there was no loss in not having them ready.  Additionally, there is a whole garden season ahead of us and we hold at least one other big event each year.  If I can eventually get them made up, I could still offer them for raffle at a later date.  At the very least, I am now well ahead of the game for next year, Lol!

Added to that, the wide-back fabric I had pre-ordered to fill out around the panel I had purchased for the back of the light version of the quilt still has not come in!  Had I gotten to that point, that would have been yet another complication to my plans anyway.  

On a plus note, while shopping for border fabric for the leader/ender project I worked on while trying to make up the basket blocks (more on that later), I found a lovely panel depicting realistic images of butterflies to add into the back of the black version of the quilt:

The original plan was to make the black butterfly version with just a solid black backing and the light version was to have the "Be Kind" panel and the "still missing in action" wide-back print.  Now that both quilts will have pretty panels in their backs, I think I will buy more of the Kona white to complete the light backing so they are truly "fraternal twin quilts".  

Additionally, I decided to purchase two of the butterfly panels so I can use the second one to make a quilt for myself with the leftover pieces that Jenny Doan has us put aside when cutting the fabrics for the basket blocks.  Score!      

So despite the disappointment in not getting that project done, I did still get to do something special for the Opening Day ceremony.  Back in March our Garden's President had asked if I could make a sash for the Grand Marshal for this year's event.  I wasn't thrilled with the idea since I had by that time already come up with the raffle quilt plan and had never made a sash before.  However, she sent me a link to a site that sold sashes and it didn't look like all that hard a task.  I rolled around ideas in my mind for a good while and what eventually resulted was this:


Finally a chance to use some of the "food fabrics" I have been collecting for years and the little Bernina Deco embroidery machine I purchased a while back!  I used fabrics from my stash that each represented things we grow in our garden.  The letters were die cut using black Kona from my solids stash (separate from what I purchased for the raffle quilts) and the Accuquilt "Classic Alphabet" die.  

I decided to use some burlap that I had on hand as the sash base and chose a tan print from my "backgrounds" stash to use as the lining fabric.  I used pieces of the lining print "wrong side up" under the burlap and positioned where the embroidery was to be placed in order to minimize the additional stabilizer I would add showing through the burlap.  I then applied iron-on tear-away stabilizer to the back (right side) of the lining pieces to further stabilize the embroidery as it was stitched.  After the embroidery was done, I used more of the tan print (right side up this time!) to line the whole sash, attaching it using the "pillow turn" method and edge stitching around it to finish it off.  

The two ends of the sash were secured together with a safety pin to make it easy to adjust the fit.  I decorated the pin with a fabric covered button with a shank placed on it.  We don't grow blueberries but that was the only print in my stash where the images centered perfectly on the button!   Our local councilman was the Grand Marshal and the sash was gifted to him at the end of the event.  And yes, I did put a label on it too!

Details about our Opening Day event can be seen on page 3 of our community paper which can be viewed on the issuu.com website.

Leader/Ender Work

While trying to sew up the basket blocks, I decided to also begin sewing together the layout for the "String Bean" blocks I had finished up at the end of March.  So those went from this:


....to this.


The top still wasn't quite wide enough for my taste so as noted earlier, I went looking around for something to add on as borders.  I was pretty sure that with the red sashing squares I also needed something red for the borders and found it.


The center is longer than it is wide so visually I found that it worked better to do the side borders wider than the top and bottom borders.  That complicated things slightly as I had already pieced together the scrappy corner squares as a nine patch with a red center.  I had to re-do them into a 4x3 patch rectangle so moved the red squares to the outer corners so it all remained balanced.  

While debating about the borders and still in "pieced back" mode from March, I wondered if I might do something along those lines again for this project.  Then I remembered this easy quilt design by Mary Johnson (who blogs at Making Scrap Quilts From Stash) which I had picked up from her free pattern site Mary Quilts years ago:  


So I made it a point to purchase extra of the border fabric to use as the "focus" print (the wider strips) and more of the solid black from my solids stash for the accents.  Still needing something else for the "tone on tone" strips in the design, some of the prints I had purchased for my "Scrappy Figs" project came to mind.  When the border fabric came I realized that I really liked one of the "Figs & Shirting" prints in that position.  I found a shop that still had some so now that everything is in house, first thing for May is to get this backing made up!

More Harry Potter Work

The other project plan for April was to finally get to the "Realigned" quilt stitching practice.  However once I did not start on it in the first few days of April, I lost the momentum to do it and so it too now moves on to May.  I decided that what I could steal some moments to work on were the other two paper-pieced blocks needed for my son's Harry Potter quilt.

I made the dragon in March while we visited my MIL.

These three were the only blocks I had originally planned to piece into the center using blocks from Maaike Bakker's book.  Of course now, I'm thinking that maybe a few more might make it all a little more balanced (there's that word again!).  This time though, I wanted blocks a little more specific to the HP lore.  Well, where do you go when you want to find PP patterns that are story specific?  None other than Fandom In Stitches of course! 


After going through all the offers for HP lore blocks I settled on blocks for the "Sorting Hat" and "Hogwarts  Castle".  There is a castle block in the Bakker book but it is pieced in kind of a fan shape and I wanted one that was smaller and squared.  So I guess this project will also continue on into May.  

Now that the garden is open for the season, DH and I have already volunteered for shifts (we did our first on the day after the Opening Day).  Our anniversary was also in April and he was on vacation this past week so more diversions from quilting happened.  We have been doing a little "in person" RV and tow vehicle research.  I don't think it will happen this year but with any luck, I may be an "On the Road Quilter" by next year, finger crossed!  

I hope your April stayed more on track than mine did and we both have a very productive May!

Wednesday, April 6, 2022

"Infinite Variety" Fans, Your Time Has Come!

Great news for all of you that loved the "Infinite Variety" exhibit:  The International Quilt Museum in Lincoln, Nebraska acquired Joanna Rose's quilt collection last year and it is now on exhibit again!

They will also be holding a "Textile Talk" today at 2 PM Eastern.  You can register for it although if you miss it, these are usually posted to You Tube within a day or two.

Will any of you be lucky enough to be in Nebraska in the coming months to attend?  If you do, please post about your visit and share it with the rest of us!!

Update 4/30/22:  

Just saw on Lori DeJarnett's Humble Quilts blog that the IQSC has put up a fabulous virtual display of the exhibit!  So if you (like me) can't get to Lincoln, Nebraska you can take it all in at the museum website.

Saturday, April 2, 2022

March Carryover/Plans for April

In my last post I noted that there were projects that were supposed to get started in March that didn't happen.  The most important of those was the raffle quilt project I wanted to do for my community garden.  While I did not commit to providing them unless I could have the tops ready by end of March/early April, I still very much want to give it the "old college try"!  

The Missouri Star "Butterflies and Baskets" Quilt

Planned:  one "Dark" and one "Light" version

So with the two "Daily Blocks" projects now out of the way (I made the last three "String Beans" blocks yesterday),  I'm going to try to focus on the getting the raffle quilt tops done over the next week.  If I can, that wouldn't leave me too far off from where I had hoped to be at this point.  

I spent yesterday getting all the cutting done for the basket blocks.  The baskets for the quilt with the black background are being made from a layer cake stack so I needed to sub-cut the squares chosen from the pre-cut set into 6-1/2" and 3-1/2" squares to make those.  The baskets for the quilt with the white background are being made from my batik stash.  When I chose those prints, I had made the initial cuts needed for the blocks so now had to sub-cut the larger squares into two triangles.   Additionally, I needed to cut all the background pieces for the blocks from the Kona cotton purchased for that.  Oh, and I needed to print templates on the paper backing of the fusible web I'm using for the applique basket handles. 

Once I got all that done, I tested out the zigzag stitch setting for the handle applique (the split moon piece in the center) and tried making two test blocks.  When I saw the original tutorial for this quilt design, it seemed really easy compared to basket blocks I've made in the past.  The sewing is simple but mine were coming out small (note the extended triangles on the sides at the mid point in the blocks above).  They need to be squared up to 8-1/2" and mine were coming up at best to about 8-1/4" even though my seams are at 1/4".  Maybe I need to make them a scant quarter inch?  

When I reviewed the tutorial again, I saw that there was one key tip that I had forgotten:  when Jenny lined up the sides to add to the center basket triangle, she lined them up from the top whereas I had been lining them up from the bottom which is the way it looked like it was done in the pattern.  When I re-did them the tutorial way, those sides are looking a little better and only one side is still coming up about 1/8" short.  

Progress but I'll have to see how it goes moving forward.  If I'm still going to make this happen, I'll need to be able to have tops by the end of next week.  At least as of now I believe I can do this if I focus, focus, focus on this project!!  

And actually maybe the "String Bean Daily Blocks" can actually be of help again this month after all:  I think I can use the piecing together of the block sections as leader enders for the basket piecing.  

Block-A-Day String Bean Log Cabin Variation blocks

I will also take the time to look these over and see if I want to do a little rearranging.  It makes me happy to think I can still get two things done at once!  

The other big thing I was supposed to start last month was the 28 Day Quilting Challenge on Craftsy using the "Realigned" pattern.  I had the batting I needed but what I hadn't been able to make time to do was cut it into squares to make the Quilt-As-You-Go block sandwiches in order to do the practices during March.   So yesterday, I also got that done too. 

So hopefully now I can piece together those blocks each day and try out one of the quilting practices.  I really want to feel comfortable with quilting if I am able to get to that point for the raffle quilts.  Also considering that I have a couple of other quilts I want to quilt up over the next two months, getting this practice in will also be a big help for that.     

And so it goes for the start of April.......