

After spending so much time on my last project, the "Star Spangled Runner", it was a relief to get a quicker one completed. I had hoped to get this done to post yesterday but I still had some quilting to do on it today along with all the finishing stuff. So the "Salute To Stars" Table Mat made it just under the wire for the end of August!

Like the runner, this is another free pattern from American Patchwork and Quilting magazine. As the pattern notes, it is easy to make the original design larger or smaller by adding or subtracting blocks. The free pattern is actually the "color option" of a larger lap quilt that appeared in the magazine. I made mine with even fewer blocks in order to fit the 18" square table I want to use it on:

I also recently saw a pattern made up of the same basic blocks but in a larger size and laying them out in a way that creates a long runner. A very versatile design indeed!
I opted to make a slight change to the design. The original quilt used Flying Geese blocks to create an outer border around the center of the top. I opted to go for a 3-D substitute and use a Continuous Band of Nesting Prairie Points instead! I've only used this technique once before as the "binding" finish for a Feathered Star wall hanging way back in 2003 in my early quilting days.

I learned about the technique from a pamphlet --- one of those "Free with Subscription" gifts I got back when I started my Quilters Newsletter subscription. I still miss that magazine!!


Even though Flying Geese are my absolute favorite block, I liked the idea of being able to make the triangles float above the striped outer border. They are easy to make too -- only requiring a strip for each set of points, some marking and cutting (with scissors for a change!), folding and pressing.
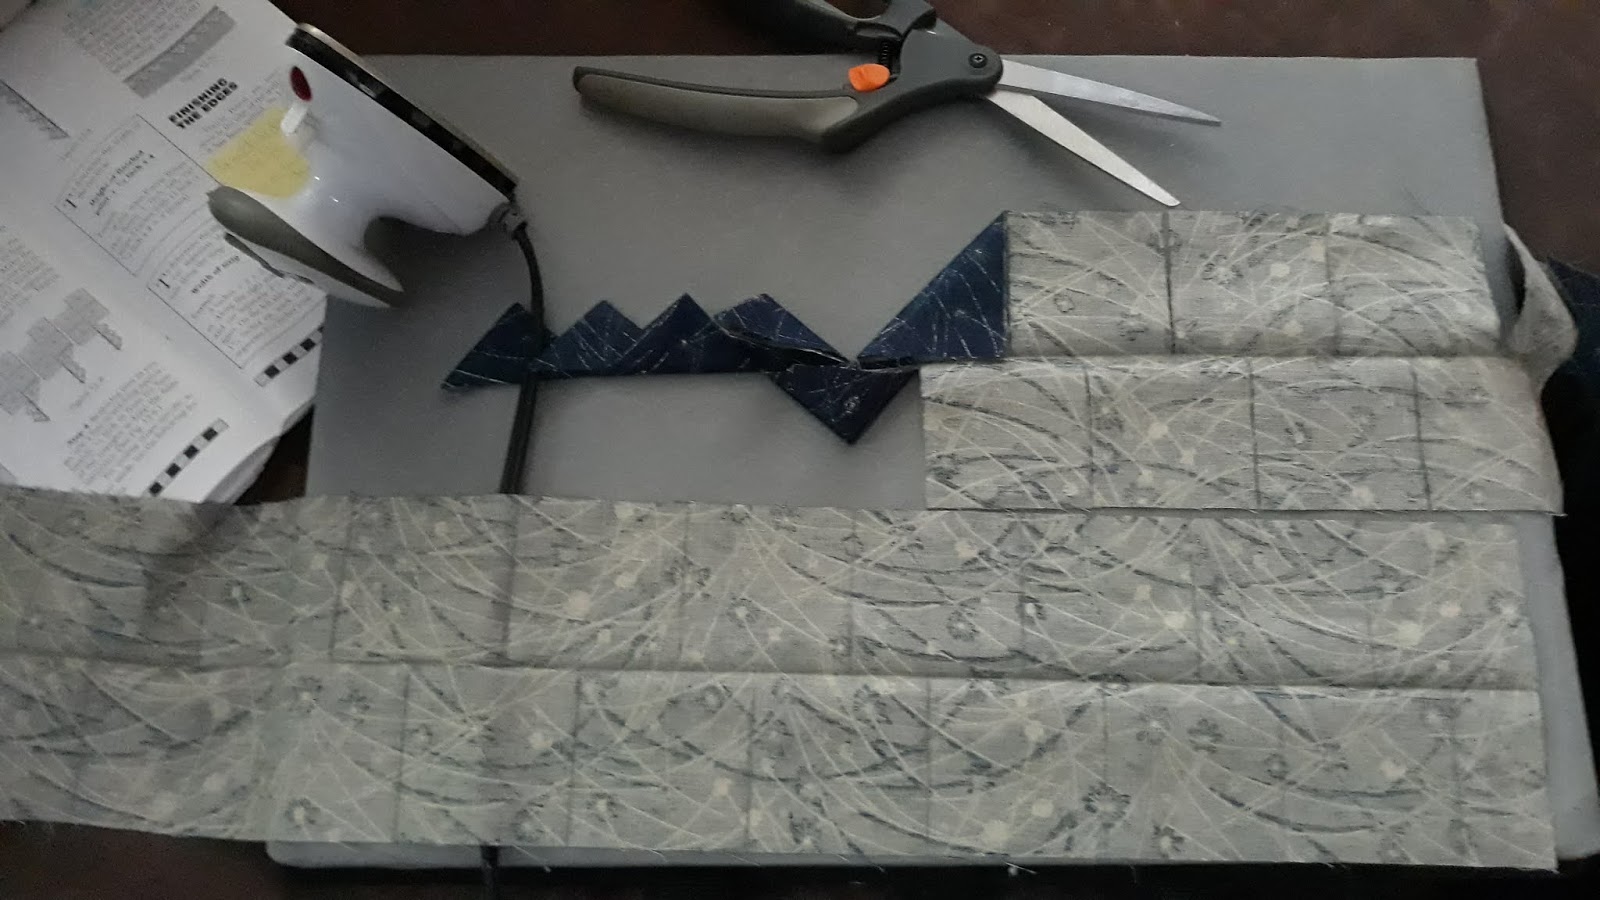
There are a number of videos around the web showing how to do the technique. I also found a PDF from the Utah State University Cooperative Extension (!!) showing how to do two-color and piped variations. The two sides of the finished band get folded together and the band gets sewn in between the turned under edges of the top and backing. In my case, I sandwiched it between the center of the top and an outer under-border.
I had to "Frankenstein" some batting scraps for this and then decided to quilt it with some simple, straight forward grid quilting. It was easy to do since I just had to follow the lines or edges of the piecing and the striped border print and it could all be done with a walking foot.
When it came time to finish the quilt edges, I was going to bind it with a traditional binding but then this week, Bernina's "We All Sew" blog put out a bunch of tutorials on various binding techniques. One of them was for an "invisible faced binding", a technique I've seen but haven't tried before. In addition, the way they did it, it provided a convenient label area and hanging sleeves (in the form of triangle corners) as part of the process so I was definitely in for that!


This was one of those RARE times, I was willing to hand sew down a binding! If I want to hang this up in the future, I only sewed down the center edge of the triangles --- I left them open at each corner so I could slide in a dowel rod for support to hang it. Of course, this won't be completely done until I write in the label information on the triangles!
I've been playing in my RWB stash all summer so all of the fabrics for this have been sitting on my cutting table while I worked on each project. Needless to say repeats abound in the fabrics I used for all of my last few projects. I had cut the squares for the star fabrics from the some of the same fabrics used for my last QOV top and the blue Prairie Point fabric and the striped print underneath it were also used for the corner squares and borders on it too.

And speaking of QOVs, now that my RWB Summer is done, it's time to focus on the other things I was supposed to be working on this summer --- namely, getting them quilted! Well, I have that and another small (not RWB) desk mat to finish for a gift. I admit I also have a new project that I want to embark on this weekend. Thank goodness it's a long weekend!!
But before all of that, I'm heading back over to Alycia's to finish checking out what others are working on or celebrating finishing this week. Link up and show us what you got (that we will want to make too)!!


