I'm happy to go to Alycia's
Finished Or Not Friday link up this week with another finish. Woo Hoo! The desk mat for my friend is finally
D-O-N-E!!
 |
| That didn't take too long did it?!?
|
Reiterating the back story (and if you've read this before, please feel free to skip ahead): I have a friend that I've made a number of projects for. She has taken most of the things I've made for her to decorate her cubicle at work. For years, Melinda Pirone's "Moscato Di Asti" pattern was on my wishlist waiting for just the right combination of desire/need/fabrics to make it happen. My friend's request at the end of 2017 was for a quilted mat for her cubicle desk. Leftovers from that year's
Quiltville mystery project presented the perfect combination of need and the resources to get it started!
My first attempt to actually start working on this was in 2018 when we had planned to travel together to visit another friend of ours. This was one of two projects I "kitted" up to take along on that trip.
However, even after the trip plans got pushed back, I kept the two "kits"packed up so I could grab them at a moments notice of travel. Fast forward to this year and my friend was coming to attend a music event in the community garden I belong to that was held back in the Summer (sigh, yes Summer is as good as over!). I figured it was a good time to start working on her mat and maybe get it done to present to her. Of course, the usual "best laid plans" (and the fact that I was working on three other projects at the time) meant that I only pulled it out and started on a bit of the piecing. It took a lot longer than planned to finish up the other projects so only then did I get to really work on this. Once it became the focus project, it was full speed ahead!
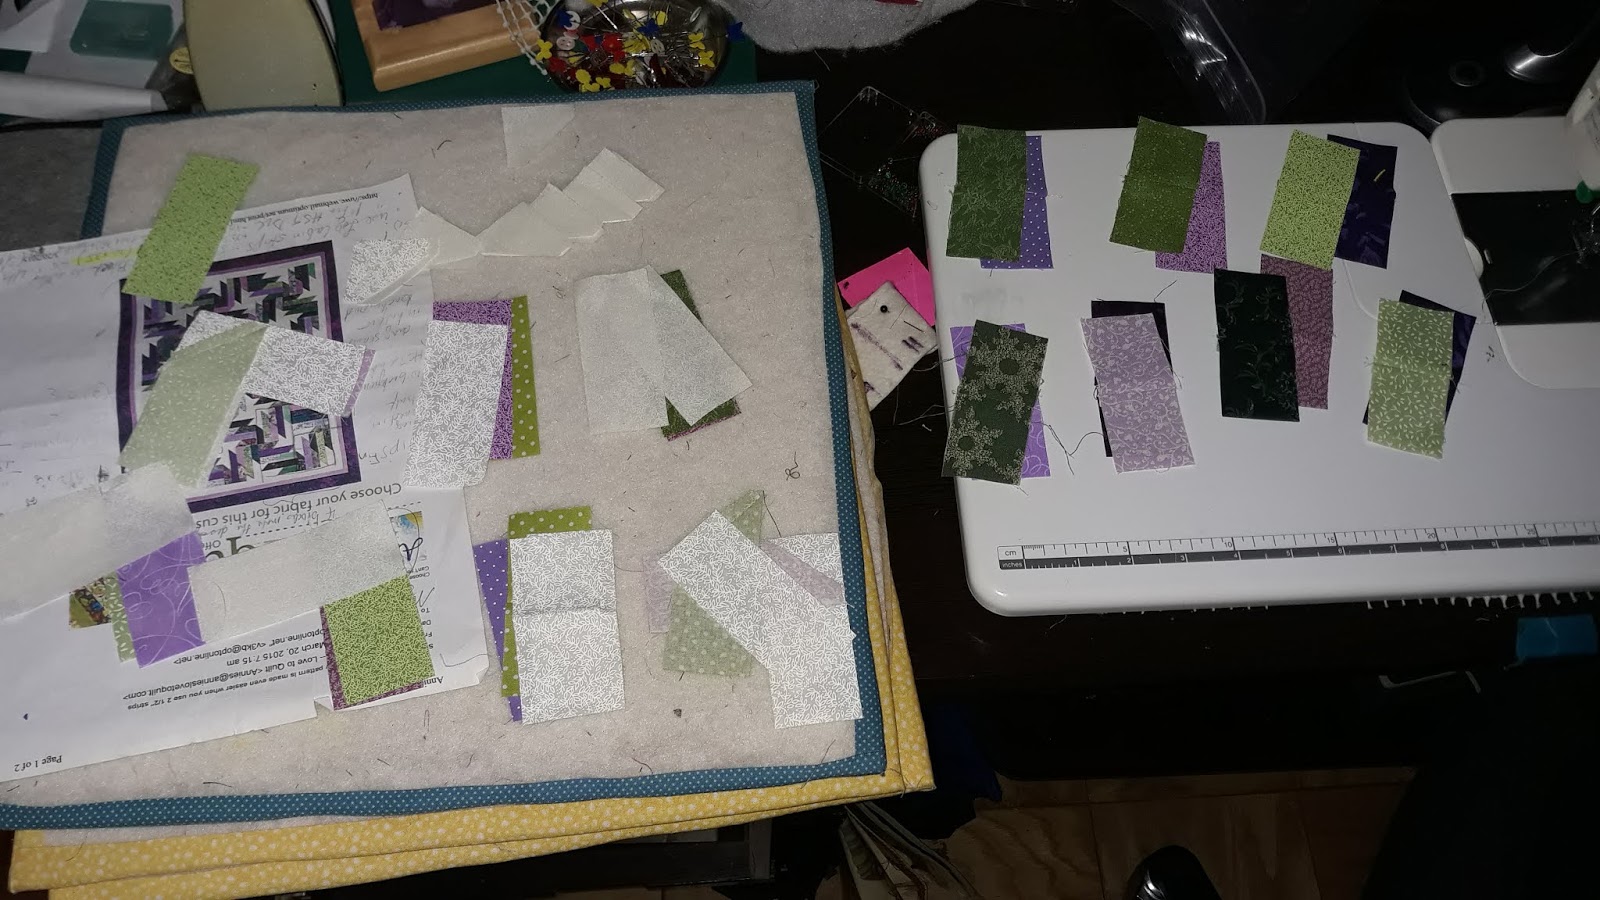
Last week when I posted I had shown my progress (above). Only problem was that I had pieced some strips in advance and when I put up the blocks already made on my design wall, I also put up ALL the strips already prepared. What I DIDN'T DO was check back on my plans for the layout. The strips I laid out filled out five rows of seven blocks and I thought that meant I needed to add enough additional strips to complete that many blocks. At this point, I had to struggle to have enough of some of the fabrics that I started with to do that. I did get it done (with a few fabric substitutions and some "poverty piecing" of small scraps) and got it finished.

Except --- Yikes! --- it was now TOO BIG!! I had only needed FOUR rows of blocks! The good news is that only meant taking a row back off and fortunately doing so didn't wreck the balance of the colors in the design. Whew! The other good news was that I put some of the extra blocks together to use to make a small quilt stitch sample for that step in the project.
I had a pretty "marbled" (thanks, Rebecca!) print I planned to use for the backing. I had planned for the finished top to be 20" x 35" (5" finished blocks set in a 4 x 7 layout). I had measured the backing piece and it was just about that size, possibly only needing a few extra inches in strips around the edges to widen it a bit. Yet when I finished the (re-sized) top and held up the backing to it, it was not as wide as the top by a significant amount. What gives?
Yeah, turns out you have to read the measurements on your mat correctly! Tip: when measuring from the short side of the mat, DON'T read the numbers at the end on the long side, LOL!!
So this of course meant my backing piece though tall enough was not actually wide enough to make a one piece back. No problem, leftovers to the rescue! I had enough of some of the fabrics and decided to try something I hadn't done before --- I cut 2-1/2" strips and created a panel for the middle in the style of a "
jelly roll race" quilt!
BTW, in my last post I had said that I thought I had used up all of the original light (white on cream) fabric I originally worked with. Wouldn't you know it,
now I found some more under the pile of the other fabrics! It wasn't that much (only enough to provide two strips for the backing panel) but it would have been more than enough when I was piecing more block strips. Those strips will also serve as my label area. Even so, I still needed to add some extra strips on the top and bottom to give me extra for the quilting.
As I did with
another project this summer, I used preview paper to decide on the quilting. I wanted to highlight the "stars" and wound up doing a combination of a swirl and outline quilting on them. For the background the best thing was the simplest: stippling (fast and easy).
As usual, I didn't really want to change threads too much. I found a nice medium gray that worked on the dark areas however, it was too dark for the stars. I was going to use white thread on the stars but realized that using a light gray actually worked better --- it made it all look like it was stitched with the same thread and giving the
subtle contrast in color a nice overall balance.
Last was the binding. For myself, I probably would have gone with a dark purple or burgundy but my friend likes lavender so I went with that for her benefit. And clearly there's no question that the fabric I used is 100% cotton:
So my friend will have
hers and I put a binding on the stitch sample and now have a little mug rug as a momento of working on this project!
My friend has two projects for her home that she wants me to make, but both will require design work. I bought EQ8 last year so working on those may be an opportunity to get familiar with that program. No time soon though, I've got QOVs to get to next!
With this project and post done, now I can go see what our gracious
link up host Alycia is up to and check out what everyone else worked on this week. Got a Finish? Even if not, link up and let us see what's inspiring you this week!