Showing posts with label Bags and Totes. Show all posts

Sunday, November 24, 2024

Slow Sunday Stitching: Two Cross Stitch FFOs

It's been awhile since I've had something to share at Kathy's Quilts for the weekly "Slow Sunday Stitching" showcase!

In the last two weeks, I had two big cross stitch "Fully Finished" projects.  They were not big stitch designs in size per se, just big in my cross stitch heart!  First is that I made my first quilted project bag!

"Just Fudge It" Project Bag featuring Pat Sloan's "Sunday Drive"


While project bags are big in the quilt world, they are HUGE in the cross stitch world!  You can buy inexpensive vinyl bags for your projects but a lot of cross stitchers add to the fun by buying or making pretty fabric bags to hold their projects. 

Many CSers use bags where the fabrics used for it may coordinate to the theme of the piece they are stitching on: for example having a bag made up in Halloween fabric to hold a Halloween stitching project.  

I had resisted the urge to go there since I am trying (fairly unsuccessfully at this point) to keep my cross stitch projects to a minimum.  So I didn't mind the plain vinyl bags since I can reuse them for any project.  That said, I do admit to getting a variety of them, each with a different colored zipper and then have been known to coordinate THAT with the project in it, LOL!   

In this case though, making a bag was a chance to make and utilize a CS pattern I really liked.   As I have noted in previous posts about CS,  I am particularly fond of the "snarky" designs and had loved this one by Brenda Gervais of With Thy Needle and Thread.  I was then turbo charged to make it once I found one of Pat Sloan's older fabric lines while on a shop hop and realized that the fabric colors coordinated perfectly with the cross stitch piece.  Then I lucked up that the shop I had bookmarked as having the pattern had it on sale when I went to get it!  

At this point I couldn't "fudge" that "G" -- I had to "rip it"!!

Since this CS design spoke to an aspect of "the process" of doing cross stitch, I didn't mind creating a bag and putting it on it since it could be used for any project I might store in it.  An added bonus is that the theme of the fabric line will be really appropriate if I use this bag to carry projects in it while travelling. 

I have seen various tutorials for making project bags but in the end decided to make this one just like my favorite kinds of vinyl bags.  This one has two zippered sections because I like having a clear vinyl front pocket for storing the pattern and "in progress" piece and then a big top load pocket for all the project supplies and stitching notions.   The only thing I forgot to do was to add an additional divider inside the big pocket.  Oh well, something to consider for the next one!  

And now that I've opened that flood gate, I've since kitted up two more CS patterns to use to make two more bags!

This is one of them!

The other cross stitch "fully finish" is also another of my snarky projects:

Maker/Crafter/Badass

The pattern for this one was an impulse buy from back in September.  I fell in love with it when I saw a kit for it that included a frame.  However, when I realized I had most of the supplies for it and already knew a source for a frame that I've shopped with before, it immediately went on the "must make" list!  It was a pretty quick stitch and not too long after finishing it, I went on a Shop Hop and found the perfect fabric for a simple cross stitch backing finish.  


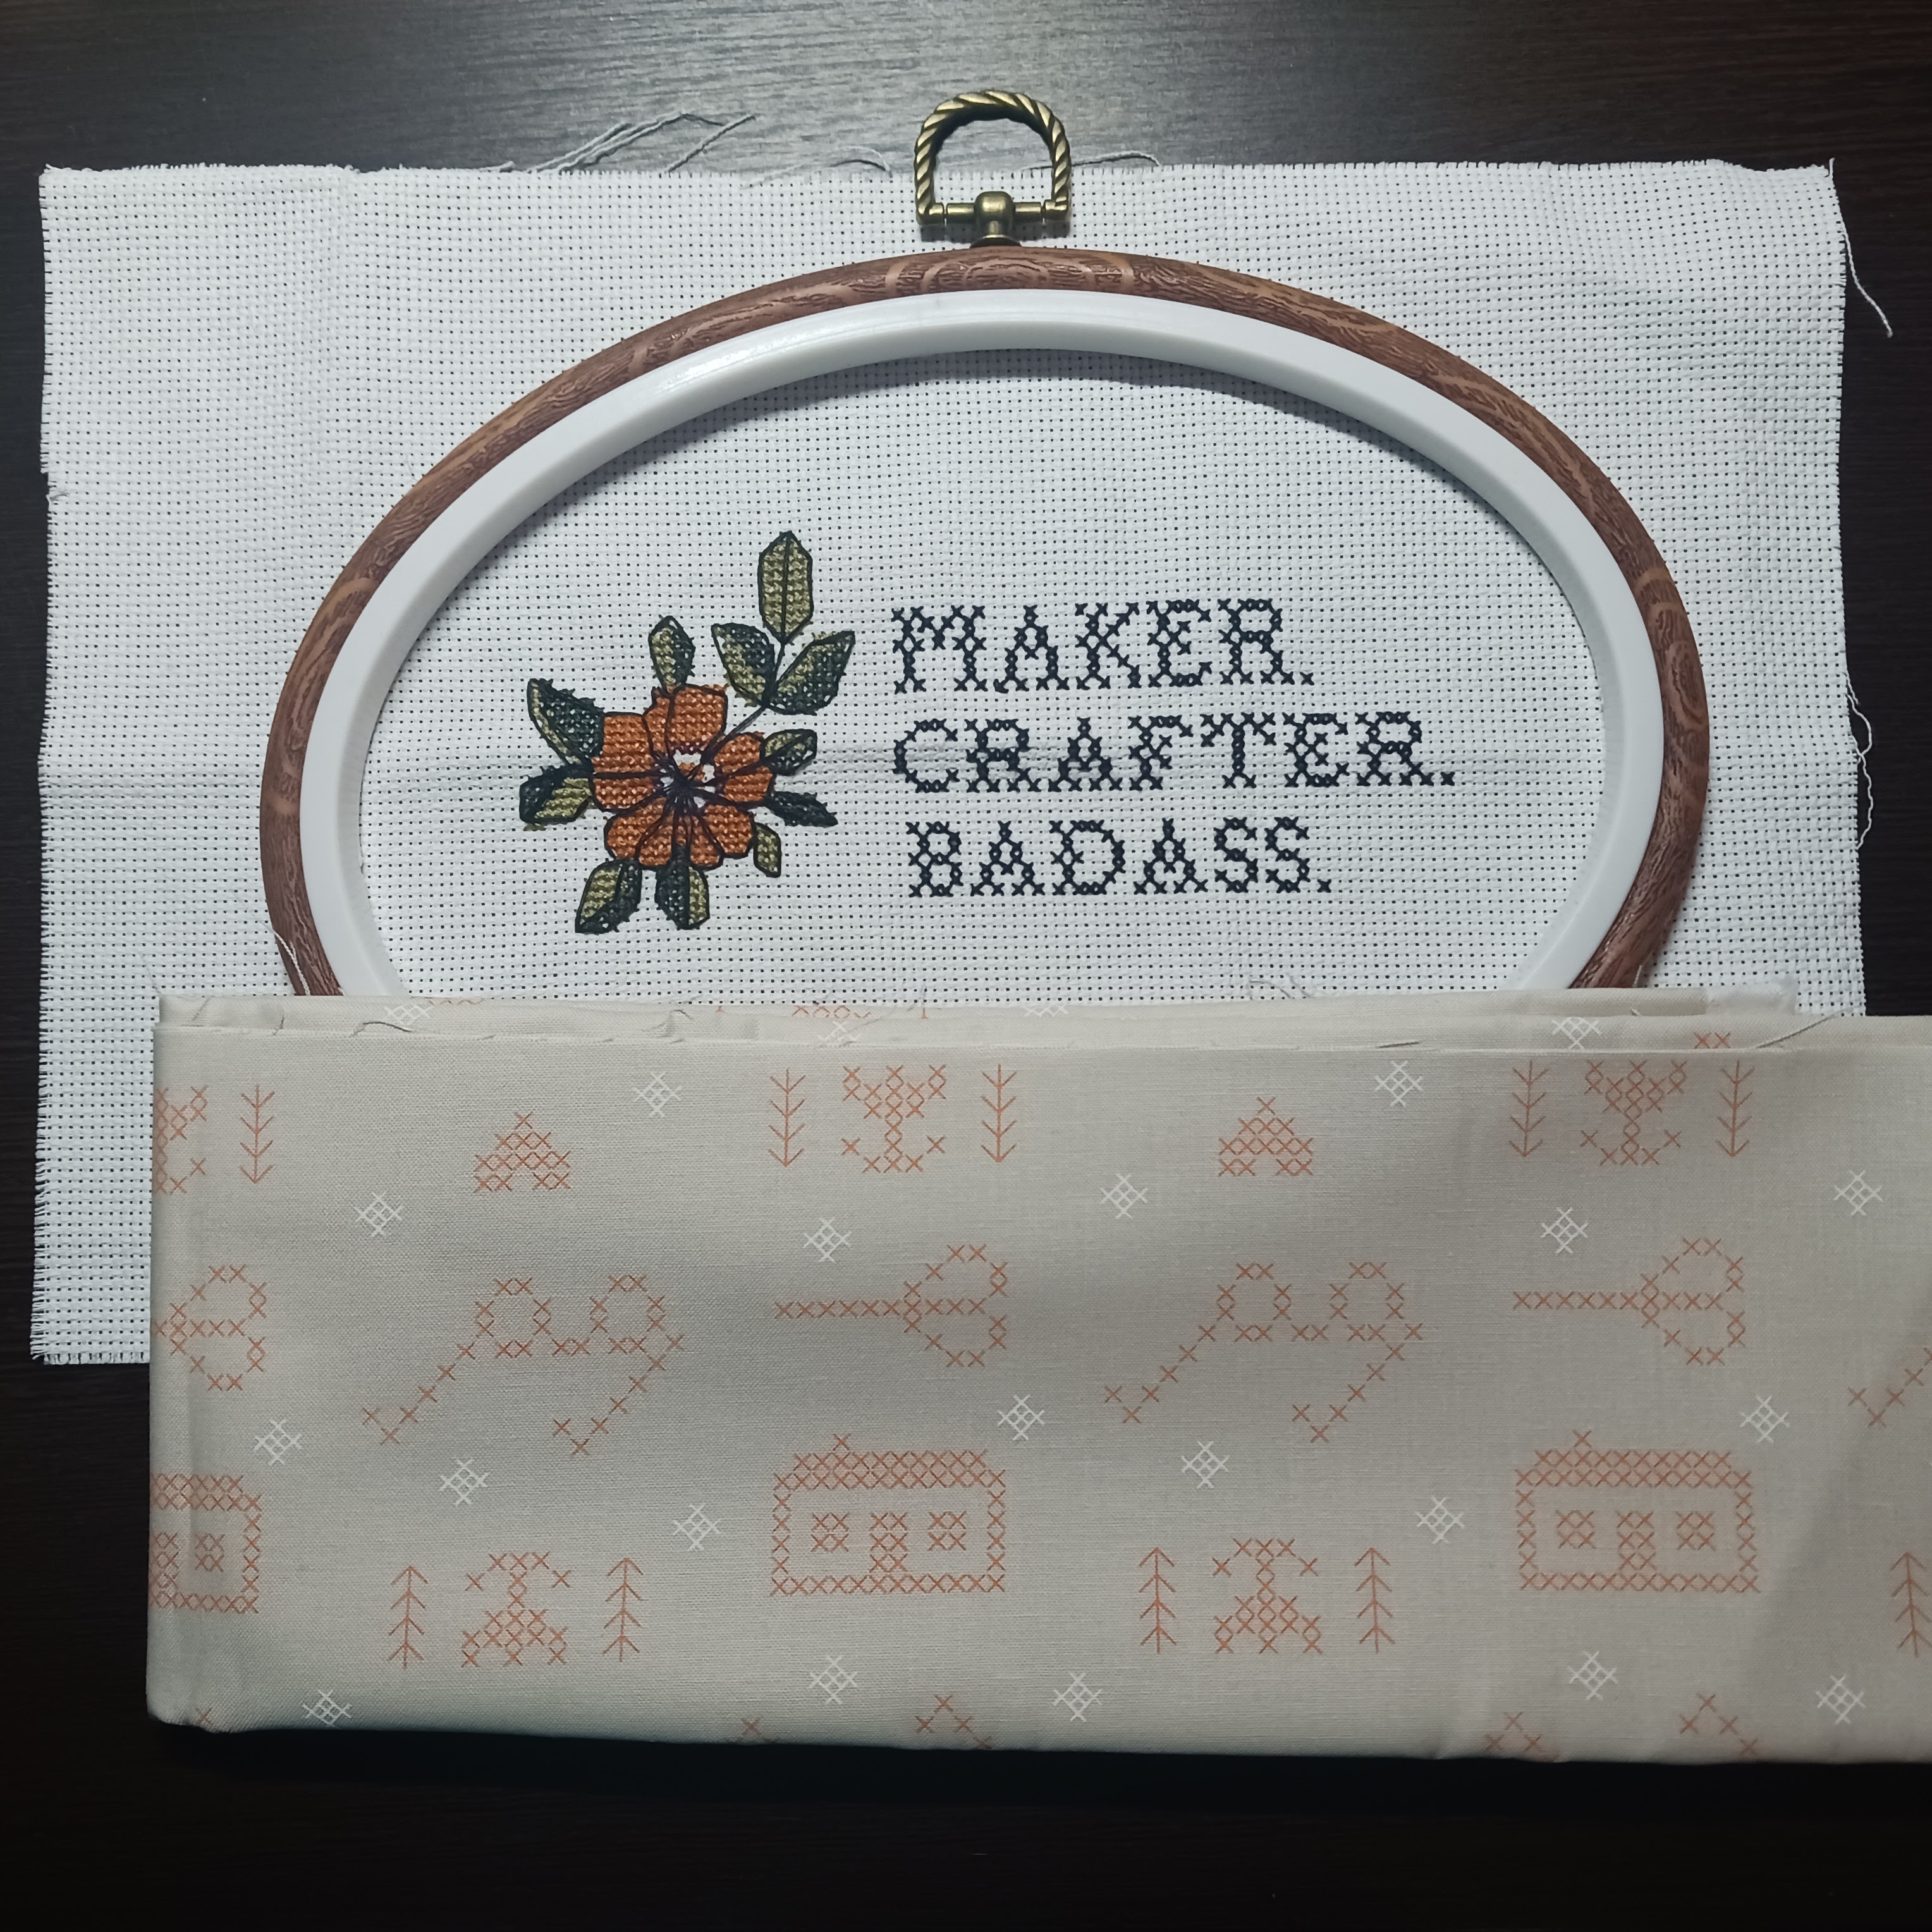
As I've done for other framed cross stitch pieces, I laced it around the frame before popping on the outer frame edge.  With it in place I then had to determine how much to draw up the backing fabric in order to hand stitch it in place so it fit snugly (if not terribly neatly) around the back.  

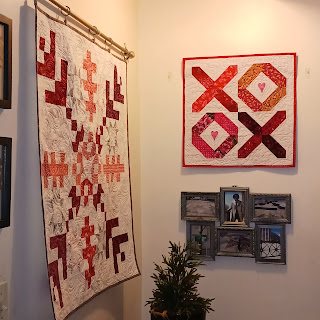
It remains how ironic it is to me that when I started quilting I swore I would do no hand work and yet every new thing I pick up related to quilting has pushed me in that direction!  Even better it is now hanging in place!

I have a few other stitched finishes that still need to be "fully finished" however at this point and I am not sure that will happen before the end of the year.  But two down still feels good!

Linking Up With Slow Sunday Stitching at Kathy's Quilts

Monday, September 30, 2024

August Recap: RSC, Cross Stitch Summer Camp, A Favor for a Friend and More FMQ Inspiration

Re-Visiting the Rainbow Scrap Challenge

After a busy July, things did not slow down for August!  My plans for the month started off with pulling the number for my American Patchwork and Quilting UFO Challenge  list.  In the piecing category (this year I made a separate list for projects that need to be quilted), the number that came up was for my "Twisted Ribbons" project which is one of my Rainbow Scrap Challenge projects.

I checked in with Angela's So Scrappy RSC information page and the color for the month was Orange.  What was good is that I needed that color in my other ongoing RSC projects as well so I pulled together pieces from stash and scraps.

Unfortunately, in order to work on "Twisted Ribbons",  I would have needed my design wall and as noted in my last post, it was still filled with the layout for the Christmas Scrap Squares project so that was not possible.  

However, I took the time to review all the RSC projects and I saw that my Log Cabin Hearts is probably the closest to getting to a finished top.  So I did cut the strips needed for an Orange block for that.  I had already cut sets for colors called earlier this year.  Since the RSC page now also had the color call for September, I added added more color block sets for that too.  

Now I will be taking this project with me on our upcoming trip to visit my MIL as one of the projects for our mini quilt retreat. 

Cross Stitch Summer Camp

Every August, Sheri the Colorado Cross Stitcher hosts Cross Stitch Summer Camp.  For the months of June and July she will give prompts which guide stitchers in choosing a project to work on for it.  For August the prompt is always the same:  "Try Something New".   For me that was the perfect excuse to start a project I had come across after viewing Flosstubes discussing the new patterns that debuted at the Nashville Needlemarket in early March.  

I saw a kit for a pattern that was said would be stitched in wool.  Having made wool quilt projects, I was curious about how that translated into cross stitch.  

The wool floss is on the left.

I admit I started on this late so by the end of August had not gotten far with it.  I've continued to work on it after August and here is where it is now. 

Commissions, Commissions.....

That month I also got a quilt commission request.  A long time friend of mine called to ask if I had an "African themed" quilt I might part with.  She had a co-worker who would be traveling to that country and wanted to give a unique gift for an upcoming birthday party for her.  I admitted I didn't have one but that I did have a fabric stash as this is something on my quilty wish list!

We put our heads together and came up with the idea of me making a jewelry roll like the ones I'd made her and another friend of mine.  She picked out the fabrics she liked and I made it up.

Unfortunately, this gift was not as well received as my friend expected.  So I had to have the "Quilt Gift Reality Check" conversation with her that we quilters have come to understand:  just because you like quilts and handmade items doesn't mean that others do or appreciate them.  I even passed along a number of links to her to articles that would let her know that this is a situation that is not as uncommon as she would think:

https://www.reddit.com/r/quilting/comments/ew94tv/how_do_i_recover_from_gifting_quilts_and/

https://www.epidastudio.com/7-things-to-consider-before-giving-a-quilt-as-a-gift/

https://www.badassquilterssociety.com/stop-giving-quilts-as-gifts/

https://scissortailquilting.com/finished-projects/giving-quilts/

Although I was able to calm her down a bit,  she was still a bit miffed and at least I got something out of it too:  she has vowed to never ask me to make a gift like that to give to someone again!  That has not however, freed me of the obligation to finally get to work on the memory lap quilt she has commissioned from me for herself, LOL!!   

The other thing I was able to do was to remake a tote bag I had made for her a while back.  She was carrying that one when she went for a mammogram.  Leaving the facility, she was on the elevator with a woman who was visibly upset, having received a rather grim diagnosis.  The woman asked my friend if she could take a picture of the encouraging saying on the front of the bag.  My friend felt so bad for the woman that she gave her the bag and then wondered if I might be able make another to replace it.  

Fortunately, the panel it came from -- Ruby Society's "Pep Talk" is still readily available so I got another panel.  I still had more of the original backing fabric that I had used for her first bag and shopped for a new lining fabric.  I was also able to upgrade the bag straps to cotton webbing which I think is sturdier than the nylon webbing I used the first time.  The best thing was that I was able to deliver both to her in person, making for a nice opportunity for us to meet up as well!  

Free Motion Summit

As I had in July,  I got the opportunity to attend another virtual workshop series: "The Free Motion Quilting Summit".  Hosted by Mary Davis of Mary Go Round Quilts, this was a free three day event (although you could pay for extended access to the videos) that introduced me to many quilting teachers I was not familiar with and re-introduced me to a few I did know.  

What was a big help to me was a workshop by Adria Goode on her "Big Flower" FMQ motif.   

This is an interesting stitch pattern in that it can be used either in blocks or in borders.  If you like it too, she has the free workshop available on her website as well!  

This was just the inspiration I needed to attempt to try to finish another quilt!  I had pieced "Heartland",  a 3 yard quilt back in Fall 2023 and had tried to longarm it when I visited my MIL back in May.  

I had picked out a computerized design and sized it on the quilt but wasn't able to figure out how to get my MIL's machine to stitch it out.  Since that time I think I've figured out what I did wrong and had planned to take it back to my MIL's when we go down to visit her.  However,  I felt the "Big Flower" motif would work well on it so I decided to instead quilt this one on my DSM.  I started that quilting in September and it is currently in progress:

The longarm instruction at the Summit made me also think about my plans for the next time I get a chance to use my MIL's longarm.  To that end, I pulled out another project long over due for finishing.  Looking at it for the first time in years, I could see a new plan for quilting it on her machine.  Armed with that and a new understanding of how her machine works and how to approach longarm projects in general,  I think I'm ready to take a stab at trying to get it done.   It is now packed up to go with us when we leave at the end of the week.

A Big Loss In the Quilting World

Towards the end of August,  I read that another light went out in the quilting firmament:  I learned about the passing of Freddie Moran on Jennifer Sampou's blog.  

For most of my quilty years, Freddy Moran was always talked about for her vibrant use of color and pattern, particularly polka dots.  I gained a new appreciation of her belief that "Red is a Neutral" when I worked on Red and White quilts these past few years.   

There is another tribute to her on the C& T Publishing blog.  Two more tributes to Freddy's work (done while she was still alive) can be seen in two videos by The Quilt Show here and here.   

In honor of her passing, I picked up a copy of her book "Freddy's House".  What's cool is that the used copy I got is autographed! 

She was also well known for her collaborations with the also dearly departed Gwen Marston.  I still want to try to get at least one of the books they wrote together.  

So that's it for August!  Last up will be a summary of September!

Saturday, June 29, 2024

Finished or Not Friday: A New Tote and a Wall Hanging UFO Finish

I had to do some late Friday finishing so am a little late joining in with Quilty Girl Alycia for some "Finished or Not Friday" review! 

First off, a new project:  I made another tool tote for travel sewing:  I present my Catch-All Cutie II:

In 2021, I made my first “Catch-All Cutie” for my entry in a blogging challenge on the topic of “Zippered Accessories”.  

I love this pattern and its instructions are straightforward although not intuitive – it's best to just follow them verbatim step by step and in the end is actually very easy to make.  I added a twist to it in the form of a little container with a stuffed pincushion top to hold clips and pins which was inspired by a similar gift made and given to me by my MIL.  

This little tote is ingenious and indispensable when I travel with a sewing machine. I had made the original bag out of a "sewing themed" line of fabrics from a bundle that I had in stash.  With Red, Yellow and Aqua accents, it went well enough with the Red tote bag I had made for my Singer Featherweight sewing machine.  I made a point of putting Aqua and Yellow tools in it to coordinate.  It holds all the basic working tools you need when sewing while away.  Even better, when I fold down the sides, the inside pockets hold all the tools neatly and are easy to grab and put back as you sew.  Did I mention I love this bag?!?

So when when I purchased a new Juki machine last year and wanted to take it down to my MIL's, I also purchased a bag to transport it in.  I wound up getting an aqua colored one and admit I was thrilled my little “Cutie” coordinated with it too.  

However, eventually I found that I didn't like that if I alternated between which machine I carried, I had to make sure I moved the “Cutie” to that bag before traveling.  I have always held to the practice that with the exception of my house keys and ID, if I needed a specific thing/tool/item in more than one bag, I prefer to have multiples of that item and stock each bag I use them in with their own supply.  It only took about three trips (especially one where I started out with the plan to take the Featherweight but then switched and decided to take the Juki) to realize that I'd really like another “Cutie” – this time designed specifically for the Featherweight's tote.  

So I looked around for fabric to do just that.  I would have loved to get more of the Robert Kaufman Singer-themed fabric but that line had gone out of stock years ago.  I had a few scraps left though and knew just where in a new bag I could incorporate them if I could find other fabrics to coordinate with it.  

I lucked up on that when I saw prints from the “She Who Sews” line by J. Wecker Frisch in an Etsy shop one day.  There were Black and White and Red and White sewing themed prints with an “old-timey” look which was perfect for my needs.  I checked the fabric requirements in the pattern and saw that I only needed about a half yard of each to make the bag.  Sweet!  

Eventually I also caught both red and black Lori Holt zippers that were long enough for use on the exterior and interior on sale at Sentimental Stitches.  Later, the same vendor offered a beautiful pair of small black embroidery scissors with gold sunflower motifs on the handles.  The product description said how they reminded one of a Featherweight machine!  I agreed and even though they were on the pricey side, I ordered them anyway to add to the tools for the new bag.  

With an upcoming trip that I planned to take my Featherweight along with me, I got this new bag underway appropriately enough on “National Sewing Machine Day”.  Once again the instructions were straightforward although I had overlooked one important thing when I made the bag the first time:  the instructions do say that using directional fabrics is not recommended!  That had not been a factor for the fabrics used in the first bag but of course both of the fabrics I had purchased this time as well as my Singer scraps were just that, LOL!  

To add to the complications,  I wanted to feature certain motifs from the cover fabric on the sides of the bag.  Had I purchased a yard of each fabric it would have made it easier to finagle.  Fortunately, I was able to figure out how to make it all work by adding an additional seam at the bottom of the bag and get it made up for the trip.  Here it is in action:

I also ordered more tools to coordinate with this bag and they came in on Friday so now it is fully outfitted and ready for the next trip! 


Now for the UFO:  Americana Lone Star

As often happens, I decided to make this one to fill a need:     


I like to hang Red, White and Blue quilts during the summer or as I call it "the Patriotic Season" from Memorial Day until Labor Day which also includes July 4th.  The wall at the top of our entry stairs is one of my prime display spaces and I had finished the "Hometown USA" wall hanging seen above for it back in 2022.  In the past when I have hung quilts in this spot, I have also made companion wall hangings for the smaller space on the wall next to it like these: 

Pioneer Sampler and Honoring the Journeys

When I put up "Hometown" in 2022,  I had decided it was time to make a companion.  I started by looking through one of American Patchwork and Quilting magazine's compilations for "Patriotic Patterns".  Well it didn't take long to find one I had downloaded years ago and had always wanted to make.  


This was a goodie in that I was more than happy to follow the pattern cues for colors and was pretty sure I had fabrics in my RWB stash to execute it.  Even better, making a Lone Star quilt had always been on my quilt "Bucket List" and even though I have "fabric funded" a few projects, I hadn't made one yet.  

It did not take long to compile a project stash but a read of the pattern presented a new problem:  the pattern was designed to make a wall hanging that finished at 43 inches square but for my space I needed one of about 25 inches.  I figured out that if I made it using smaller blocks (6 inch Leymoyne Star corner blocks rather than the patterned 10 inch), it should fit my space.  However, I wasn't sure what size strips to use to piece the center Lone Star.  I had some estimates but not enough in my project stash to run a test.  

Fortunately at the time I was also embarking on another project that used Shot Cottons and since I had a big stash of those, I tested my block size theories using that stash.  The good news there is that not only did I get that done but I used the test block in the backing for that other project which at the moment is still awaiting quilting:


Strip size settled (1-1/2”), and after strip piecing the first star points I then realized I had to replace the diamonds cut out of the stripe fabric I wanted to use in the star point tips with "fussy cuts".  This was the only way to have the stripe run pointing into the tip the way I wanted.  For the Lemoyne Star corner blocks, I used my trusty Rapid Fire Lemoyne Star ruler and Deb Tucker's techniques to make the 6 inch finished blocks needed.  


Once the top was finished it sat for the usual reason:  how do I want to quilt this?  Then it continued to sit until now for the other usual reason: the season passed and other projects became a priority.  So much for an “I can make this up quick” project!  This year however, when the RWB quilts went out on display again, I decided I really wanted to get this done.  Even better, looking at the top with fresh eyes, I also immediately came up with a very simple quilting plan.

Right before we were due to go on a camping trip for my DH's vacation two weeks ago, I figured I would try to get this layered so I could quilt it as soon as we got back.  To that end, before leaving on our trip, I had hoped to try a new basting technique:  

My MIL had seen some videos on glue basting, tried one of them and liked the results.  While I have done it for bindings, I've never tried it for a whole quilt.  Before we left, I had set up to try to get it done but found that the containers of glue I had on hand wouldn't dispense!  I picked up some new ones and once back did get the basting done.  My opinion:  the method does work but just like when using it for basting a binding, it is important to use a light hand with the glue:  you want thin lines or small dots not glops and slathers!  

I will also note that like so many I've seen described, my center Lone Star block was not exactly “flat” and bubbled a bit in spots.  The condition was helped a bit by giving it a good press.  I also decided to "double batt" it when I layered it.  I was hoping to further minimize how much of the puffiness I would have to try to “quilt out” later.

And yes, these are Franken-batts!

I also had to change machines:  I started quilting this on my vintage Singer 401 because that was what was in the sewing table and I had recently worked on another project that needed its zigzag capabilities.  However, while it started out okay, I started getting a lot thread breakage and I have found that after awhile the walking foot on that machine starts to jam up.  So change of personnel:  I swapped my Juki into the table and got it done!  I was even able to use the new add-on guide unit for the walking foot for that machine.  Good thing I had finally caved and purchased it about a month ago.

So now it's done!


Bound with more of the outer border fabric and up on the wall!

So now the side display space is filled with a permanent entry for when I decorate for this season each year!   Hmm, I had to take down the other frame I normally hang there but me thinks I need to find a little seasonal sign to add under it.  If I don't find one, that need might wind up generating a new cross stitch project, LOL!

That will be it for finishes this month but as always there's a lot on the table for July so hopefully there will be more then.  Now I'm headed back over to Quilty Girl Alycia's to see what everyone else has been up to for "Finished Or Not Friday" this week.  Won't you join me there?

Thursday, June 13, 2024

In Honor of National Sewing Machine Day

 As always a lot going on in the studio this week.  I was pleased to find out that today is National Sewing Machine Day.  

We quilters all appreciate how much the sewing machine contributes to our quilty crafting.  In my last post I had talked about wanting to switch over to my Juki machine but as of right now my Singer 401 is still in my sewing cabinet and the project it had been hard at work on was this one:

I had hoped to have finished these but I hit a snag.  I've put the project in time out for a while and then will try to take another stab at it.

In the meantime, a new project has been started:  

These are blocks for "Apple Crisp", a design that originally appeared in the October 2010 issue of American Patchwork and Quilting magazine and is now available free on their website.  

When I started quilting, "background fabrics" for me were almost always light to dark tans because I worked with a lot of shaded fabrics and Civil War reproductions.  However in recent years as I've embraced more fabrics in the brighter modern palette, I have expanded my use of backgrounds to include more whites and white-based "low volume" prints.  

In the process, the darker tans had been languishing but when I saw this lovely project on the APQ website a few years back, I loved its Fall vibe and thought it a perfect way to cull some of the darker tans from my background stash.  Although I had pulled together the group of tans for it a good while ago, the big push to start it now has to do with an upcoming event. 


 Angela Walters is getting ready to do another of her "Free Motion Quilting Challenge Alongs " this time with the theme of "How Do I Quilt It?".  She will be covering stitching designs on Chevron, Log Cabin, Curved and Snowball blocks.  I have a top ready for the Log Cabin session and realized that this was the perfect time to get "Crisp" started since half of the blocks for it are Snowball blocks.

According to the Challenge schedule, Angela will start showing designs for stitching Snowball blocks on July 16th.  If I can stick to a schedule of stitching "Daily Blocks",  I could have the top ready for quilting by then.  I really look forward to seeing what ideas she has that I might be able to use to quilt this one up quick!

However, having made a schedule for daily stitching I did have one issue:  we are going on vacation next week.  In order to stick to the schedule, that means I'll need to take my stitching with me.  Fortunately that's not a problem as I've already put my trusty Featherweight with the travel stuff:

When I took my Juki on my last two travel trips,  I realized something:  the "Catch-All Cutie" I had made a few years ago and love to bring as part of my "sewing machine travel kit" was colored perfectly to go with the Tutto bag I had purchased for toting my Juki machine.  

Rather than having to move that tote between the two travel bags, I thought about making another one that I can leave in my Featherweight tote bag.  I saw some cute "old-timey" fabric on Etsy and knew I still had a little of the "Singer" fabric leftover from making the Featherweight tote bag:

All of this would be perfect for a new "Cutie"!  Recently I also saw that Gaye at Sentimental Stiches had a pair of scissors that I thought went perfectly with my Featherweight so purchased those too (in the lower left) to go in the new "Cutie" bag.  When we get back, I plan to order one of the Lori Holt Red Olfa Splash rotary cutters to add to it as well.  

So as of right now I've cut all the parts out (although still debating between the handle choices on the lower left) and hope I  can get it made up before we leave on Sunday.      

Because it's that time of the year, the Red, White and Blue quilts have gone up for the "Patriotic Season" (May to September) so I also hope to get back to work on these in the coming weeks:

Two years ago, I got as far as quilting the front and back panels for a cover for a pillow for my living room chair so hopefully this year I can assemble and finally finish it.  I also pieced a Lone Star wall hanging that year but could not decide how to quilt it.  

Looking at a picture of it recently,  I suddenly realized exactly how I want to do that.  When we get back, I'm going to try layering it using a glue basting method from You Tube that my MIL has tried and says works great.  If it works for me too, I can get that quilted and hung up --- hopefully by month's end! 

One of the things that had attracted me to quilting was finding out that all of the construction of a quilt  can be done completely by machine.  Having grown up in the days of Home Ec training in school, I was excited to find a new use for a sewing machine.  Over twenty years on, it is still a thrill to put the "pedal to the metal" and get a quilt out of it, LOL!!  I hope you are having an enjoyable time working with your machine today and if not, pull it out and take it for a celebratory spin!