Showing posts with label Modern Quilts. Show all posts

Tuesday, September 20, 2022

Summer Recap: July

Inside the Box, Continued 

As noted in my last recap post, I had started on a project that I was setting up to use as quilting practice for an Angela Walters free-motion quilting challenge.  I spent the end of June and the early part of July cutting the parts and then piecing the blocks for the quilt called "Inside the Box".

When it was done, I loved the look!  I've always liked the "iridescence" of  Kaffe Fassette shot cottons.  I also have some Pepper Cory shot cottons as part of my stash too.  The "peppered cottons" are a little heavier and closer in weight to traditional quilt cottons while the Kaffe "Shots" are a very light hand almost like Voile.  That led me to think about a radical (for my budget) idea:  what kind of fabric matched the Kaffe shots in having a light silky hand?  Why Liberty of London cotton of course!   

Back in April when visiting my local Joann's, I saw that they are now carrying Liberty prints!  In my May recap post, I noted that I am participating in (well, more like following) the Quiltfolk "Patchwork & Prose" BOM of which one of the hosts is Jenni Smith.  Jenni wrote the book "Quilting with Liberty Fabrics" and often uses them in her projects.   I thought it would be a cool splurge to get some and use it for the backing.  

While expensive, Liberty prints are also wider than quilting cottons (56" - 60" wide) which was perfect for this lap quilt since it meant I could suffice with just two yards.  I had an idea of what type and color print I'd like but my Joann's didn't have anything along the line of what I had in mind.  That worked out great because I happened to check Fabric.com (**See Note below) and they did have a couple of prints I liked and were having a sale on some of them the week I looked!  So I was able to pick up what I needed for about $10 cheaper per yard (still a splurge though!). 

Another thing I had done with the "Shots" was to use them to make a test star point for the Americana Lone Star wall hanging I started in June.  I figured I would continue to cut strips of the shot cottons, make up a full block and use it in the back of the quilt.  It took a while to do that but it got done.  So not only is the backing done for this project, it is also Lone Star project #2!!

Already thinking about the quilting, I decided that rather than trying to find one color of thread that will work across the whole quilt as I usually do, I want to quilt this one using the color of each block.  So I decided to also try a new notion:  Angela Walters uses Glide thread on most of her quilts and the shiny polyester seemed a good fit for the "Shots" and "Liberty" cottons.  So I laid in a stash of colors to use to quilt this project.  

The two small spools on the right are Sulky thread I already had on hand.

What I wasn't as sure about was what batting to use.  So I sat on that one until this month.  Luckily, the Quilt Muses always look out for me!  Two weeks ago Connecting Threads was having a sale on batting so I decided to splurge again:  I've long wanted to try out Hobbs Cotton and Wool batting so ordered some to try with this project and which came in at the end of last week.

**10/30/22 Edited To Add:  As of 10/20/22 Fabric.com has gone out of business.

"Seeds of Glory" Pillow Cover

As noted in my June Recap post, I had two spots I felt needed something to complete the RWB summer decorating.  The second spot was our living room chair.  I continued to use the Blue and White "Indigo Weave" quilt on the chair in the living room --- a carry over from the Blue &White Christmas and subsequent Winter decorating schemes I had used. 

I love my "Indigo Weave" quilt but for a proper patriotic display, it could use an injection of red in that spot to fit the Summer season!  I had made a round pillow cover back when I had one of my CW quilts on the same chair.  

For that I used an APQ pattern called" Fussy Cut Flowers Pillow"

So I decided to make another cover for that pillow.  I wanted to find a fabric that would add red but also bridge the blue in the quilt I already had.  I looked around for something that might work and discovered Stacy West's “Seeds of Glory” line for Riley Blake Fabrics.  The line featured a hexie cheater print which thrilled me when I saw it!   Hexies have been another obsession for me ever since I was hired to teach a class on making them back in 2020 (right before the “official” start of the pandemic).  

The cheater-style print presented a perfect opportunity to make an easy cover since using this as the top wouldn't require any piecing.  Quilting it by stitching along the printed “seam” lines would be easy too!  However, I also had to think about the pillow's backing.  When I had looked around for this fabric, I  decided to also pick up a mini charm pack of the same line and make a simple back of pieced squares.  I figured that would allow me to use either side of the pillow as a front!    The only additional thing I'd need was fabric to go around the circumference of the 2” inch thick pillow between the front and the back.  I eventually found the perfect stripe that worked for that in my CW stash.   

That stripe fabric has really been a work horse having been used in a couple of my CW quilts:

Underground Railroad Quilt and one of three Civil War Mini Quilts

I did get the backing pieced but got stalled thinking about exactly how to attach the band and install the zipper and whether I'd want or needed to add piping or a flange around the pillow edge as had been done on the CW pillow.  So with other pressing things to work on, I let this sit.  So unfortunately, like with the wall hanging in June, this too did not actually get to be displayed for the summer!   

So much for July!  The next post will wrap up the Summer doings with a report on things I worked on in August.

Tuesday, September 13, 2022

Summer Recap: June

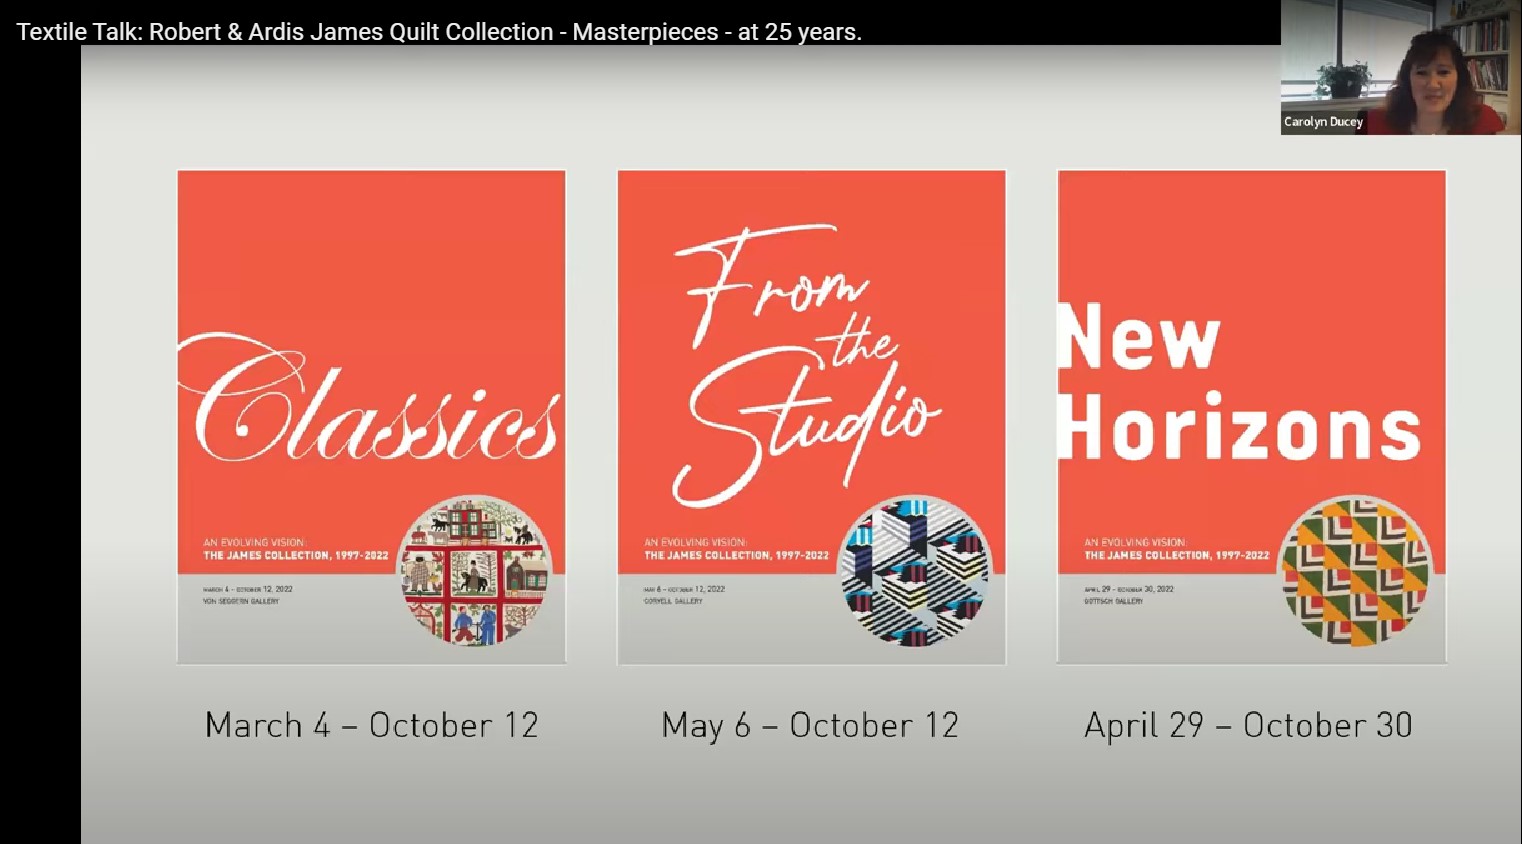
 June started off well enough!  On the first day of the month, I got to see the International Quilt Study Center Textile Talk on the 25th Anniversary of its founding.  The museum was started with quilts from the Robert & Ardis James Collection.

Once the month got underway, I set out the Red, White and Blue quilts for the Summer season.  I soon realized that two spots needed some additional pieces to fill some decorating holes.  The first of those was at the top of my entry staircase


When I had some of my Civil War reproduction quilts hanging in this spot, I used to have a piece on the wall next where I now have hung my "Hometown USA "quilt.  

When the "Pioneer Sampler" and "Honoring the Journeys" hung in the same spot.

I thought it would be a simple matter to make a small RWB wall hanging to add to that open spot.  

Americana Lone Star

It can be fun to look around for inspiration for a new quilt project.  However, sometimes you find out you already have what you need!  I started my search on the All People Quilt website (for the American Patchwork and Quilting magazine) since they often post compilations of "theme quilts" that showcase designs (or color options of designs) that have appeared in their past issues.  Almost immediately in a slideshow of "Patriotic Quilt Patterns", I saw a design that I knew I had already downloaded a few years ago.

The "Americana Lone Sar" is a one block color option quilt made by Laura Boehnke.  It was inspired by Laurie Simpson's "Reach for the Stars" quilt design that appeared in the APQ October 2008 issue.  

Laura's color option is of one of the corner setting square blocks from this quilt.

The possibility of making this one excited me for two big reasons:

#1:  Making a Lone Star project is one of the last six things on my original quilting "Bucket List".  I do have two Lone Star projects already "fabric funded" that have long been waiting to be started.  However, both of those are bed-sized quilts so would take a lot more time and focus to get underway.  I figured that this project -- essentially one big block -- would be easy to make and get done quickly.  

#2:  I liked the color scheme of this one "as is" and knew I had fabrics in stash that I could use to make it up.  Needless to say that is always a "start your engines" sign if there ever was one!

When I sat down and reviewed the pattern though, I realized it made a quilt too big for the space where I wanted to hang it.  I figured out that if I made it using smaller blocks (6” corner blocks rather than 10”), it should fit my space.  However, then I wasn't sure what size strips to use to piece the center Lone Star.  I assumed that 1-1/2” finished (2" cut) strips would do it since the strip sets use four strips but I needed to run a test to be sure.  

I had a limited amount of the fabrics I wanted to use for the project so didn't want to dip into them for the test.   Fortunately, at the time I had also embarked on yet another project that I was hoping to make up to use for Angela Walters' (then) recently announced free-motion quilting challenge.  I planned to make that one up in shot cottons (more on that later).  I had a healthy enough stash of those fabrics to do both the FMQ project and the LS test.  I picked some colors of the "shots" from what I was already previewing for the other project and cut enough strips to sew up two star points to test the size.  (Darn it!  I didn't take a picture of those but you will see the finished block I made with them in the recap post for July).  

Ultimately, my assumption on the strip size proved right although I also tried a slightly smaller width strip set as well.  I pieced the corner Lemoyne Star blocks using my favorite Deb Tucker "Rapid Fire" ruler and instructions.  

I also wound up cutting a new set of the diamonds for the outer star points of the center Lone Star.  I had used a striped fabric in that position and wanted the stripe to be centered and run out out to the tip.  I thought I could do it with strip cuts but when  I pieced together the strip set that included those points, it didn't work.  I had to go back and fussy cut the points individually to make them go the way I wanted.  

The most difficult thing in sewing this up was to get the seam allowance intersections in each star point to line up!  Even after re-sewing them a few times, I still wasn't quite happy with the results.  Fortunately, I found a tutorial on making Lone Star blocks that provided the key to a better pieced block:  pressing  the seams on the strip sets open to make it easier to line up the intersections using pins.  In addition, it's better to mark the top seam allowance from the wrong side (I had been marking both on the right side).  

When I tried it that way (after going back and pressing open my “pressed to one side” seam allowances), the result was so much better!  The downside was that it made it much slower going to get the star points done. 

In the end that worked out well enough for this "quick" project.    My Lone Star is like so many I've seen described:  it's not exactly “flat” and bubbles a bit in spots.  The condition was helped a bit by a good press but I expect that I will also have to try to “quilt it out” later!  I added borders in the same way that the pattern did although I wound up having to adjust the width of the borders I originally cut when they visually seemed to overwhelm the center.  

I had decided that another way to help "quilt out" any puffiness would be to use a high loft batting.  I didn't have any on hand the size I needed and didn't want to cut into a larger batt.  However, I did have leftovers of two battings that together would give me the loft I wanted. 


 For the backing, I decided to just use a leftover piece of the background fabric used in the setting star blocks.  With everything now ready for quilting, I set it aside to work on some other things and then I would come back to quilt it.  Unfortunately that hasn't happened yet!  So despite embarking on making this to display this year, I hope I can finish it up in time to display next Summer!  

I didn't get to work on the project for the second spot to be filled until July so will talk about that in the next "Summer Recap" post

Inside the Box

In addition to trying to get quilting practice using the "Realigned" project, in May Angela Walters announced that another of her Free-motion quilt challenges was to begin late in June.  The theme of this challenge is "Fillers" - repeating stitch patterns that can be used to fill a background or around applique.  Multiple patterns can also be stitched together across an area creating the look of "graffiti quilting".  I loved the idea of this since her Fall challenge had been such a boon in getting two quilts done earlier this year.  I still need to get more comfortable quilting my projects on the mechanical machines I use now so I really need to do the quilting on my projects more frequently.  

At the time, I had planned to use my Gee's Bend quilt top to do the challenge because I again wanted to use a top that was divided into large open sections of various sizes.  However, that plan (like so many of mine) wound up changing completely!   I already had a plan for stitching the Gee's Bend top as well as what color threads I wanted to use on it.  I just didn't see any of that working with the "Filler" practice.  Then I remembered a pattern I had found many years ago:

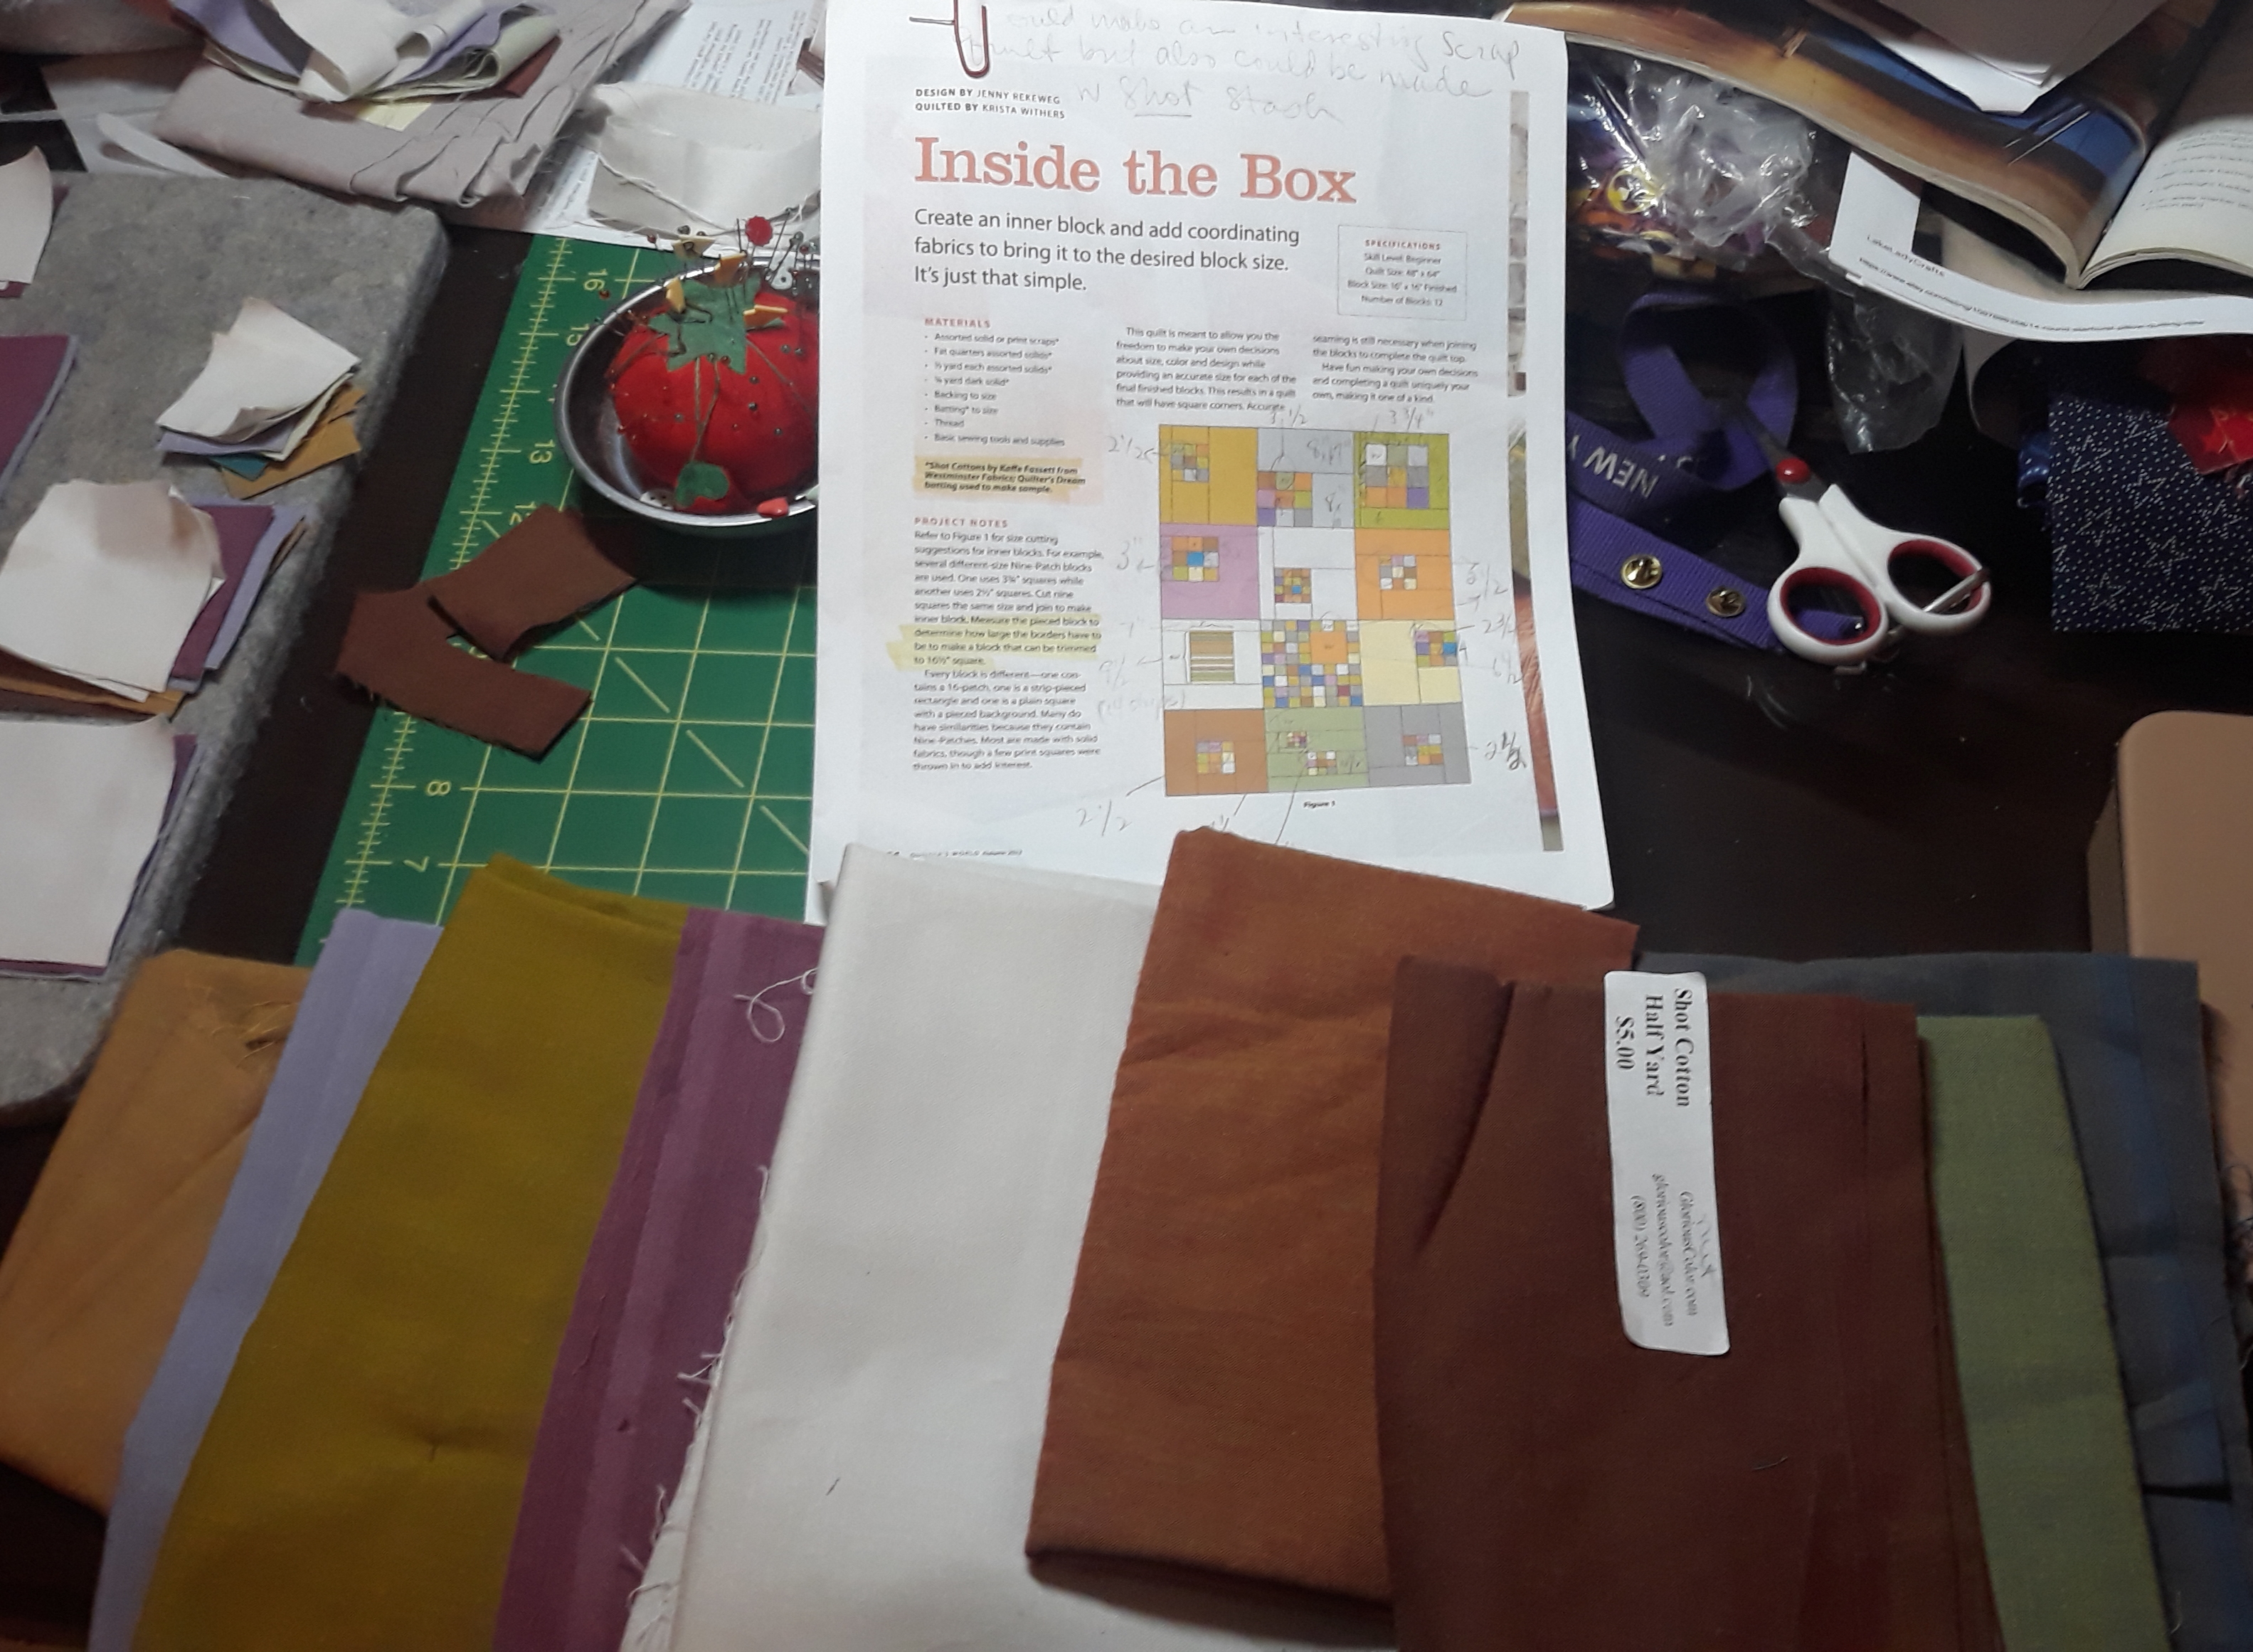
This is "Inside the Box" designed by Jenny Rekeweg which appeared in the Quilters World issue from August 2013.  The patterned quilt was made up in shot cottons and at the time I originally saw this I wanted to stash those.  So I watched for sales and specials and over time built up a good stash.  Ironically, the way the finished quilt was quilted in the magazine corresponds to exactly the types of motifs Angela would be covering in her challenge.  

Quilted by Krista Withers

Additionally I love that I would now finally get to use that stash (well, I did use a bit of it to make a mug rug gift many years ago which can be seen at the bottom of this post).  Even better, this would further my efforts to improve my quilt stitching comfort.  I pulled fabric I had in that stash that corresponded to the color blocks in the pattern:

I decided I needed a few more colors to make this work so ordered them.  As a result this project then moved forward into July to be continued.  More on that in the next post!

Thursday, January 7, 2021

BOMs Away: Modern Bohemia is a Flimsie!


One of the things I plan to do all this month is try to clean up or move forward projects started last year.  Last year I had an ambitious plan to work on four BOMs.  One of them was the self-styled BOM project I called "Modern Bohemia".  It's made up of Churn Dashes in four sizes using bold and what I'd call "modern" prints.  The idea was to work on a bunch of blocks each month until I had enough to fill the quilt top.  As I explained in this post about it,  I used various Accuquilt dies to cut all the parts for each size block.
 
My work on it got interrupted by the pandemic and then quarantine quilting projects, then a need to work on projects I had planned to decorate with for Christmas (which was another casualty of the pandemic) and then a trip south in December.  

As a result this was the first project on my list to work on this month.  Primarily because the completed blocks had been sitting on my design wall since November.  Now the top is done!
 

After I get all the prior year starts moving forward, the other big task for this year is to do a whole lot of quilting of tops.  Once I get a few more projects moving, that will be my next thing to focus on, 

Linking Up to "BOMs Away" with with Lynette at What A Hoot Quilts and Kate at Katie Mae Quilts 


Friday, March 27, 2020

BOMs Away 2020 Week 12: Countryside Cottage and Modern Bohemia

Having missed a week of sewing at the start of this month and before letting a new diversion sneak in,  I was still playing catch up on my BOM work for March.   After getting back in gear and getting a pair of Valentine's Day pillows done, I  quickly pulled out the Joann Countryside Cottage BOM blocks.  They are usually easy to make up since they are pre-cut.


Yeah right, never sew late at night when you are tired!  Didn't even notice the gaffe until I went to photograph the blocks, LOL!!  Oh well, there was always the next day to re-work them.


That's better!  Then it was on to Modern Bohemia.   I figured I'd get them pieced up and be able to link up last week which was the scheduled week for Bohemia and show the work done on both.  I had picked the stash of fabric I planned to work from when I finished last month's blocks which made for a quick start.


However, everything else took longer than expected!  I wound up doing the die cutting over two days rather than one.  I got the 12, 6 and 3 inch blocks cut out on the first day.  The 9 inch blocks weren't die cut until after all those were pieced and that piecing itself took two days.  Then it was another three days to die cut and then piece the 9 inch blocks although that had a lot to do with all the National Quilting Day/Weekend diversions online!  When those were all done, I put all the blocks I've made to date up on the wall to see where I am:


Hmm, seems I need to step up production on the 3 inch blocks.  No more turquoise backgrounds for now and I now see I've got no purple in the stash for this project.  Looks like I'll be doing a little  online pandemic shopping for next month's grouping!

I was hoping to maybe get this one finished up by June but I'll see how many blocks I can get done over the next two months before committing to that.  I also realize that when I plan the work on these BOMs where I have to make multiple blocks, I really need to plan to space the work out over a whole week.  Thinking I'll whip them up in a day or two just isn't proving to be realistic.

Now that that's in the can, let's hope I can finish up the rest of what I have to do for the BOMs for March before the 31st!  In the meantime, I linked up with Lynette over at What A Hoot Quilts to join all the other quilters working away at projects during this quarantine.


Wednesday, January 22, 2020

BOMs Away 2020 Week 3: Modern Bohemia

Linking up again this week with Lynette and the BOMS Away! gang over at What A Hoot! Quilts!


Whew!  Last week I had to play catch up and make three blocks for two BOMs.  The good news is this week I can focus on just one BOM --- although this week I will still be making a bunch of blocks!


This week the "BOM" I'm working on is what I'm calling "Modern Bohemia".  It is the "Bohemian Charm" quilt published in the Better Homes and Gardens "bookzine" Sew Scrappy - Volume 2 from 2011.


I'm a fan of scrappy quilts and have enjoyed seeing a lot of the "Mod" print fabrics that have come out in recent years.  This quilt, using a very scrappy mix of those fabrics, definitely appealed to me.  I consider myself a "modern traditionalist" quilter so tend toward making traditional style projects with the "modern" part being the techniques employed to create them.  However, I loved this one because it used a traditional block -- "Churn Dash" -- with the "modern" slant being the fabric used to make them.  As a quilter, an excuse to stash a bunch of fabric you don't normally buy is always an opportunity to take advantage of!

So this is not a traditional BOM per se --- instead my goal is to make a bunch of blocks each month to add to the pile and then see if I can tease out a pleasing quilt in the end from what I produce.  I've long wanted to start this project but admit it was hard to block out time to just continually make blocks to go towards this.  I figured if I set it up so I was making a few blocks a month then taking a breather between sessions would help me bring fresh eyes to both the fabric stash and the accumulated blocks over time.  This would also allow me to keep my focus the rest of the month on sewing up projects that have a more direct pattern-blocks-top-finish trajectory.

About that stash:  I've spent a few years amassing a bunch of what to my eye read "modern" prints.  Maybe "graphic " is a better term?  It was fun to just pick up a half yard, fat quarter or remnant cut here and there to add to the pile!


The original pattern called for making blocks in 16", 10", 6" and 4" size which required some cutting of 1/8" measurements.  I decided to simplify that and make blocks 12", 9", 6" and 3" instead.  That meant I'd get to do the other thing I like in quilting:  use a gadget!  The Churn Dash block is basic so it works well die cut.  The Accuquilt Churn Dash die  (9" finished) was the third "BOB" die I bought.  "BOB" stands for "Block On Board" which means all the pieces needed to make the block are all on one die board (although there are some BOBs that are two-die sets).

All this was cut in one pass!
What I liked about it was that like the Accuquilt Value die, it is a three-shapes-in-one die: it cuts the 3-1/2" (unfinished) Square, 3-1/2" (unfinished) Half-square Triangles and 2" x 3-1/2" (unfinished) Bars.  When you consider that those Square and HST sizes are also available on separate dies, it made this one a bargain in my eyes.  While you could just make Churn Dash blocks with this die, you can also use the Square and HST shapes to cut pieces for other blocks that use those finished size pieces and you can can die cut the Bars to make Rail Fence blocks.

Accuquilt does have both a Studio 12" Churn Dash and Go! Big 12" Churn Dash die but neither work with my regular Go! machine.  However Accuquilt also began offering a 12" Churn Dash die bundle and since I already had the Value die included in that bundle, I decided to watch the sales and get the 4" (finished) HST and the 2" x 4" (finished) Rectangles dies when the opportunity arose so I could make that size Churn Dash too.   For the 6" finished size I can use the squares and HSTs on the Value die that came with my machine and for the bars can use my Log Cabin die which was the second BOB die I purchased (and you can see the very first one I purchased here).  However, this time around since I was only making one block, I just die cut extra squares, sewed them together and trimmed them down to make the pieced bar unit the size I needed.  For the 3" finished size block I also eventually purchased the 1" (finished) Square and HST dies.  After piecing two squares together, I will again trim them down to make the 1" finished set of bars.


I admit I had the most fun shopping for all those fabrics with bold prints and a lot of color.  I'm a little concerned as to whether I have enough tone-on-tone prints for backgrounds.  I thought the blocks in the pattern alternated using the TOT prints in both the background and foreground but now see that in the patterned quilt they are used mostly in the background.  I may vary that though as I progress.

The fun thing about this project is I won't mind having leftover fabric or extra blocks.  I've purchased so many fun modern prints that I've also collected a bunch of books, magazines and patterns to help use up any leftovers.


So this will probably be an extended quilt series in the making!  This a very experimental BOM for me and a second attempt at making a quilt with a little improvisation.  Should be fun!

Monday, August 3, 2015

Project Recap: Thea's Puzzle Quilt

In my July "Get It Done Recap", I noted that I had one finish in July and one almost-finished.  The finished project was detailed here and this post is for the almost-finished that is now finished!

Let me present the quilt called Thea's Puzzle from the free pattern by quilt and fabric designer Amy Butler:

Front

Front Close-up 

Back

 Back Close-up, label area

My DH discovered a plus:  this looks like a cool stained glass quilt when the light shines through it!


This is a rare bright colored quilt for me, done in an even rarer improv and modern style.  Edited To Add:  The pattern was designed to showcase Amy's Designer Collection solids from Rowan/Westminster fabrics but mine was made from my stash of Kona Cotton and other solid fabrics.

Once the design was done I debated on a number of ideas for the quilting.  The important thing for me was to bring the attention to the center but also integrate the borders.  I had seen a number of quilts around the web stitched in concentric circles and decided that was the ticket.  I found a great tutorial on this at Karen's Anderson-Abraham's Blooming Poppies blog.  Her method involved marking a medium sized circle (she used a food processor bowl) on the quilt and then stitching with a walking foot around the outside of the circle out to the quilt edges and then around the inside of the initial circle to the center of the quilt.  I took a slightly different path (and you know me, it must involve gadgets):  I started the quilting right from the quilt center and did it by free-motion using some new templates:  Westalee's Circles on Quilts!

 
This set of templates will quilt circles from 2" to 12" wide at increments of 1/4", 1/2" and 1" spacing.  You will need to have a ruler style presser foot which Westalee also sells if your machine brand doesn't offer one (Janome does).  Also good news:  Westalee, which is based in Australia, now has a stateside distributor:  Sew Steady and according to their website, the Westalee templates may eventually be offered in stores. 

Since the stitching is done free-motion, at this stage of the game there's no turning of the quilt, instead you turn the templates which are positioned on a center pin.  Westalee has a great video here showing how to use the templates.  The set up was simple:

Center point

Position the pin and pin lock 

Choose your template and start stitching.


This is what it looked like after using the 2" - 12" template (1" spacing between the circles), perfect since the center wedge blocks were 12" finished.  I realized after this that I wanted the spacing a little closer so went back in with the 3" - 11" template to add additional lines in between.  With the center of the quilt stitched, I changed over to my walking foot (on my Janome it's called the Accu-feed foot) and continued to stitch out using the side of the foot as my guide.  From here on in, it meant turning the quilt as I stitched but it wasn't too odious since I was stitching larger and larger circles. 

Once I had stitched out to the inner border, I loaded the quilt back on my cutting table to readjust some of the outer border basting before going to finish up the stitching.  I added some "faux wedges" in the outer border to break up the circular quilting and carry the block motif out to the border and then continued to add the circular quilting around them to complete the quilt.  I used the same fabric for the binding as I did for the inner border: "Fig & Plum", a Joanna Figueroa/Fig Tree Quilts print.       


This project had been waiting patiently for a long time so I'm glad to knock it off the "To Do" list.  I was also glad to get to try some new quilting templates.  The next test for the Westalee templates (and the next project up for finishing) will be to quilt Baptist Fans on one of my Civil War sampler quilts.

BTW, if you are a big Amy Butler fan, she was Free Spirit Fabrics designer of the Month for July.  Click on the links to read a blog post spotlighting her career and find out "10 Things About Amy Butler".