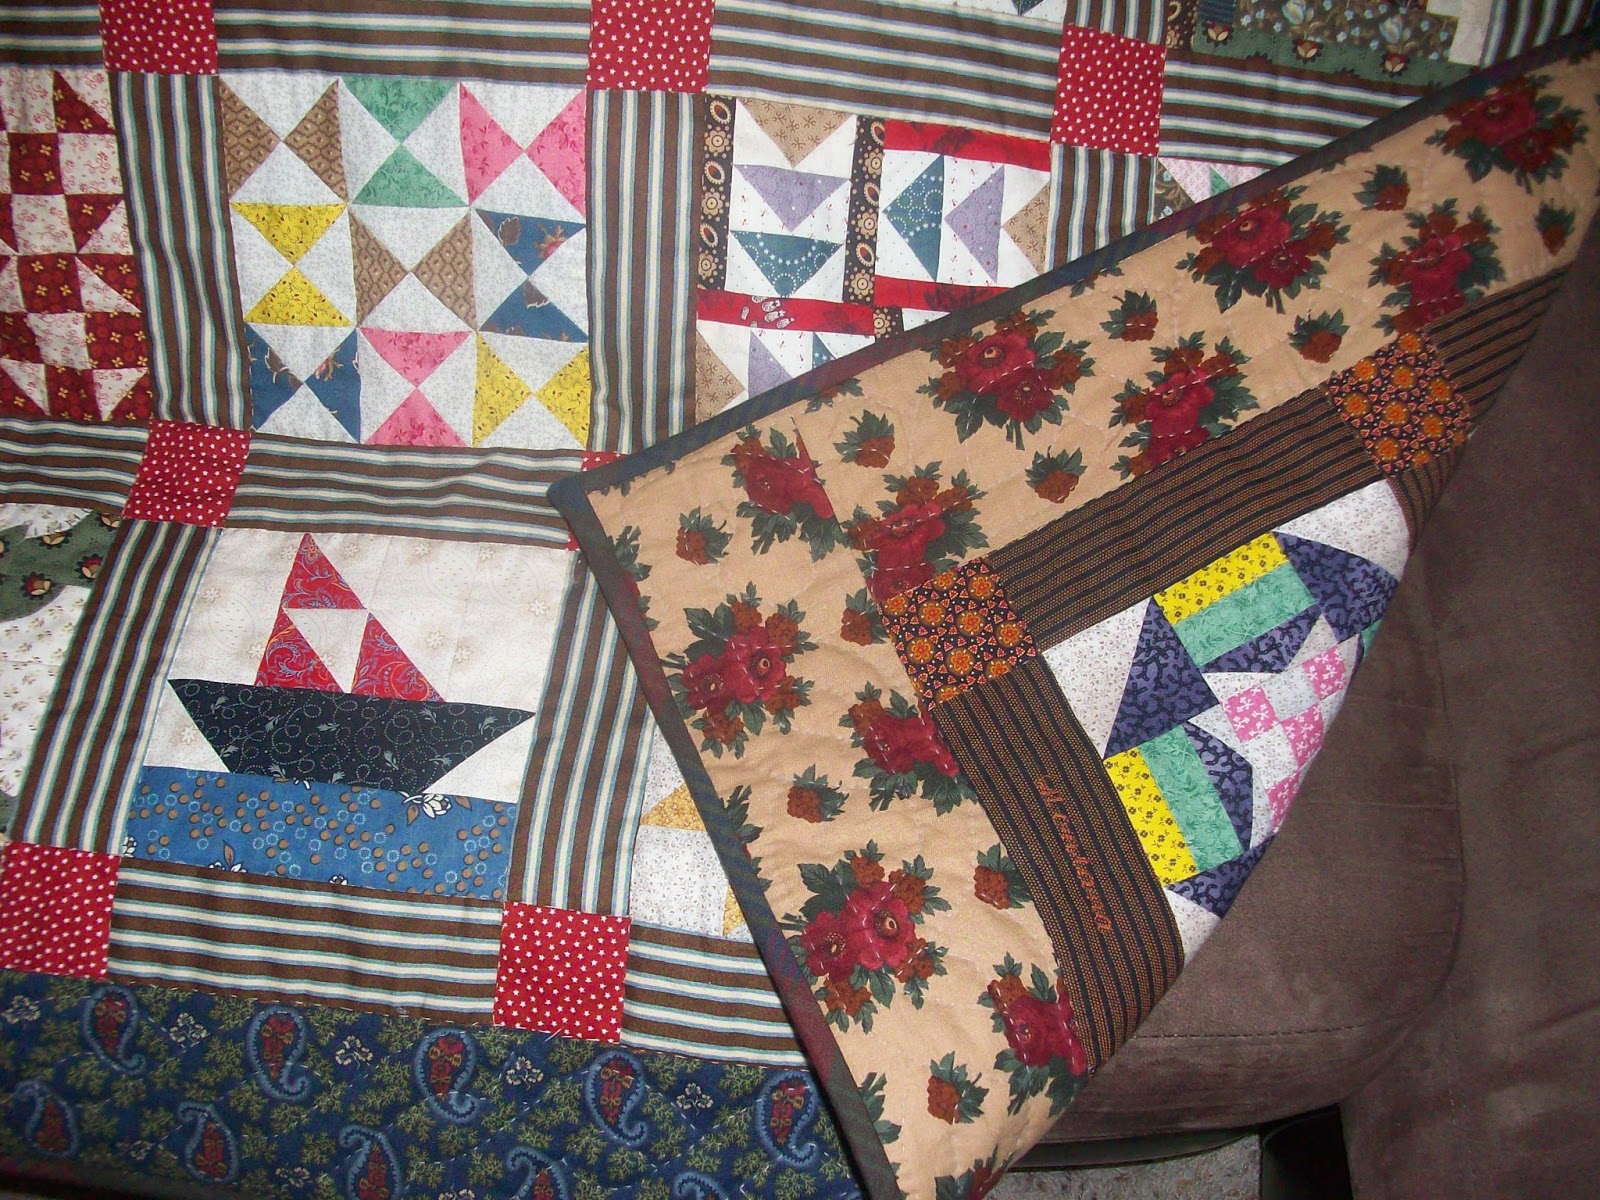
My MIL is also a quilter so when my DH and I visit, she and I also have a mini quilt retreat! Athough with all the projects I brought with me (and one picked up during the trip) this was more of a "maximalist-mini retreat", LOL!! This covers the two weeks we were there so this is your advance "long post warning"!!
As usual, I brought a lot of projects down with me as I can never be too sure what I will get to or feel like working on day to day. So here's all the stitching and quilty doings during our stay:
#1. I had brought down the "Year of the Red Horse" cross stitch project I had been working on. When I left home it was here:
 |
I was able to get everything including the numbers for the year (but not the orange highlights) and brown outer border line done before we left on Sunday. I finished the highlights on the numbers and the border and center floral accents in the car during the the first half of the drive home.
 |
| Now it's ready for "fully finishing"! |
#2. I was also able to finish stitching down onto its background the last half of the "Hexie Snowflake" block I had set up before we left.
 |
| Pinned.... |
 |
| Stitched! |
I actually brought all four of the blocks for this wallhanging project as I was hoping I could get them all done and bring them home ready to constuct the top. Nope!
After stitching that block, I only managed to get the papers pulled from half of the next block. Part of the reason was that I forgot to also bring my "Sixth Finger" stilleto tool. Ironically I saw one at the Quilt Con show we attended but at almost $20 I decided to try to just find a tapered cuticle stick to use temporarily. That turned out to be hard to find too but eventually I got one from a manicure kit sold in Dollar Tree.
 |
| "Sixth Finger" Stilletto vs Cuticle Stick |
Since it is thicker than the stilletto, it was a little harder to work the glued fabric loose from the papers so it took longer to release them than it had for the first block. As a result, I only got half of the papers in the second block out during our trip and then finished removing the other half in the car on the last leg of the drive home. When we got back home was I able to pin it to its background so it's now ready to be stitched down.

 |


#4. Long aside for a back story: Each year "our" Guild (still feels a little funny saying that) does a member challenge. Sometimes it's a specific project, other times it is making a quilt in a specific color or using a specific type of fabric. Prior to us coming down, my MIL let me know that the Guild had announced that this year's challenge is to make a Log Cabin quilt. It can be in any design of your choosing for presentation to the membership at the June meeting.
This is right up my alley! Every since buying the Accuquilt Log Cabin die as my first BOB purchase, I've been obsessed with the idea of making a lot of Log cabin quilts. I think this block is one of the most versatile in quilting next to HSTs or Flying Geese. I believe that you could spend your whole quilting life just making LC quilts and never make the same design twice. Heck, you could make the exact same block layout but color it different ways and still have them all look different!
So this was my opportunity to bring down two projects that I've long wanted to make.

Years ago I regularly followed the blog of Elaine Adair and back in 2006 she designed a quilt called a "Rebuilt Log Cabin" (the one on the left). I always thought it was such an innovative and unique looking Log Cabin design so of course wanted to make it. However, this was also well before I had the Accuquilt die so while I collected red fabrics for the block centers, I never really focused on all the other cutting that needed to be done for the rest of the blocks. However, once I had the die, I planned to make it using scrap strip cuts like the ones stored in the box shown.
Eventually, I discovered another design that also became a "want to make priority" that could use the same scrap cuts: Carrie Nelson's (of Miss Rosie's Quilt Co.) "Raise the Roof" (on the right). I generally kept these two patterns sitting by each other as I believed if I had reason to make one, I'd also start making blocks for the other. So with the Guild Challenge in mind, I brought both patterns and the LC Strips box down with me figuring I'd see which I wound up working towards.
At the Guild meeting they announced there'd be an open "Sit and Sew" session the last Saturday of our stay. So I figured if I didn't get to these before then, I'd get a chance to sew some blocks up on that day.
However, I also had another "must make" priority LC design I've long wanted to do.
 |
| From the American Patchwork & Quilting December 2020 issue. |
In the spirit of Quilt Con, this one is a bright colored log cabin quilt made in what I like to refer to as "mod" fabrics. The fabrics I put towards this came from the stash I built when I had decided to make the "Modern Boehmia" quilt referred to earlier. I pulled some background prints from my stash to put with them for the lights. I also added a bunch of fabrics purchased in 2024 when Keepsake Quilting had the Andover Fabrics "Century Black on White" line on sale which I thought would also work well for this.
This project has been sitting in a project bag ever since. When I did the Just Get It Done Declutter Challenge earlier this year, I thought this would be an easy one to tackle in order to free up the bag. So I also brought it along on this trip to add to the Log Cabin fun! I should note that it is a little diffferent approach to LC as the blocks are pieced "Courthouse Steps" style and the "logs" are made using 2-1/2" cut (aka "jelly roll" but not pre-cut) strips.

I figured the priority was to cut the fabrics for this project first but that wound up taking two days to get done. Then busy with other things and interrupted by the four days spent at the Quilt Con Show, in the end I only managed to leader/ender the center of one block before we went home. I should note here that we got word the day before the "Sit and Sew" session that it was being canceled because the heating sytem malfunctioned at the meeting center they were going to hold it at.
#5. Also in the spirit of Quilt Con, I brought the pattern, a sweatshirt and charm squares from my scrap stash to work on a "Charming Hoodie" that I hoped to wear to the show. I picked up some addtional supplies I needed from Hobby Lobby once we got down to my MIL's.

However, even though I started working on it about five days before the show, I had to alternate focus on it with some of the other projects that follow. So I only got the sweatshirt deconstructed and prepped for adding the charm squares to it.
I did get another coordinating charm pack of tone-on-tone prints at the show so am actually happy about what they will add to this once I can get back to it.
#6. Another benefit of being in the Guild is that members lend out Accuquilt dies they have. I've enjoyed making Bowl Cozies for a while now using square ruler cuts and templates to round the corners and cut the darts. However, I've long wanted to try the Small Bowl Cozy Die to compare the finished size of it to the method I've been using before committing to buying it. My MIL let the member who had it know and I was able to pick it up at the meeting we attended.
I had brought fabric for four Cozies (three "Yellowstone" and one for "Bridgerton") and immediately cut them so I could return the die ASAP.

I did get them all stitched to their batting. I started the darts on one of them and got another one pinned and ready for stitching around the perimeter but that's as far as I got. However, I plan to work on finishing them up them so I can add them to my next "Finished Or Not Friday" post.
#7. For Black history month my MIL volunteered to make an "Underground Railroad Quilt" for a presentation at her church of the "Quilt Codes". A few years ago she had borrowed the one I made and used it for a similar presentation and ever since has wanted to make one for herself. Using the Eleanor Burns book as I had, she had been piecing it over the last couple of months but was having problems with a few blocks. So when I arrived, we worked out the kinks on those and I helped her decide on the final sashing and border fabric.
This was the first project to get longarmed on this trip. We discussed potential stitch patterns to use and finally settled on doing "Baptist Fans" which I was familiar with from having quilted one of my quilts on her machine using that pattern two years ago. This is when we took the ruler table we had purchased off the machine.

The good news is that we spent the two days before Quilt Con getting it done which gave her time after our show days to trim the quilt and prep and apply the binding for the presentation that Sunday.

Since Sunday we'd be at the last day of the quilt show, my DH was given the task of delivering the finished quilt to the church and helping set it up for display. The presentation was made by one of her church members and assisted by my MIL's friend (also a quilter) who had retired to her town last year.
 |
| On display at the church. |
#8. The day before the first day of Quilt Con, we went to the home of one of the chairs of the Guild's "Patriotic Bee" to pick out fabrics for "Quilt Of Valor" kits. This is also the member who owns the Bowl Cozy die so I returned that on that trip too.

I was able to get the fabrics I needed and since I only brought the panel down with me, I'd wait until I got home to add in the other fabrics I have and work on that one.
I also picked up enough fabrics to make another top called "Freedom Stars". My hope was to try to get this one to a top before I left. I got it all cut and partially laid out and where I could, I pieced the star points.

I did them as Flying Geese as it was also an opportunity to give my MIL a hands-on demo of the Eleanor Burns method I use to make them. I had also brought down the rulers I use to trim them even more quickly than with a regular ruler so I could demo those too.

She had also looked at the "4 at a time method" and wasn't sure she was doing that right either. I had originally learned to do that method and only abandonded it because there is less cutting with the EB method and to get the exact size geese needed, the math for that method wasn't as simple as for Eleanor's method.
However my MIL showed me a tutorial that gives a simple math formula for doing the "4 at a time method" with oversized squares so now I can go back to using this method in those cases when I need to use different colors for the two "sky triangles" and need to control where the colors are placed.
But back to the QOV: I did lay out the squares I cut but as I got down to the last of them, I was finding it hard to keep the variety of prints evenly distributed which left me with a few holes in the layout and kept me from starting to stitch the rows.
It wasn't until our last Friday there that we went to run what was supposed to be a few errands and make two fabric stops. Well that turned into a mini shop hop as we wound up making stops at four fabric shops but the good news there was that I found another print at one of them that depicted all the armed forces:

It was perfect for filling the holes in my layout! So as I completed the layout...

...and while continuing to work on longarming my quilt (the other UFO --- details to follow), the next day I did get to leader/ender this project a bit and get four of the rows stitched up before we had to leave.
 |
| And now they are home on my design wall! |
#9. So the only big thing I actually finished on the trip was that I got to longarm the other of the two UFOs I brought: a quilt I call "Pulpit Tile".

 |
| A closeup of the different stitch patterns used around the quilt. |
I pieced this all the way back in 2006 in my early quilting days. Made with "Jack in the Pulpit" and "Snowball" blocks, it has sat for so long because after I made it I could never decide how to quilt it. In my mind, I thought it needed very traditional patterns like Feather Wreaths and other advanced patterns that were definitely not in my wheelhouse at the time. Then once I gained some of those skills, I had moved on to other styles of quilts so finishing this wasn't a big priority.
It came around now because I thought I might be able to actually get this done simply using stitch patterns programmed into my MIL's longarm tablet. I was also looking forward to learning to connect continuous patterns to fill borders which is something I really haven't done up to now. On my last visit, I had taken a picture of all the stitch pattern screens so I could sit down and figure out possible designs to use for the blocks before I arrived.
I had my choices mapped out but things went sideways (figuratively) once the quilt was loaded! This was a doozy that didn't progress at all the way I planned. Due to throat space limitations and not remembering to bring the right thread for this, I had to change my pattern choices on the fly. However, as usual I learned a lot of longarm lessons. I won't go into further detail here, I'll also save that for the next FONF post.
CODA: I should note, I also brought two more things that I didn't get to work on: I had my scrappy "Magic Cube" Shoo-Fly blocks to also use for leader/enders.

Had I got to do more sewing they might have gotten worked on but the good news is that needing to work on the two QOVs at home now (and on deadline) means they will get done now!
The second thing was that during the December Accuquilt sales, I had lucked up on getting two of the June Tailor "quilt-as-you-go" kits to make covers for the Accuquilt Go! machine.

I got one for my MIL and one for myself and had gotten the fabric bundle of the Accuquilt fabrics. We split the eight fabrics in it between us (she took the light/white/blue fabrics and I took the lime green and orange fabrics). We both had to add two additional fabrics to our sets because the kit requires having six fat quarters to make the cover. I added the white and grey and the turquoise prints at the top to fill out mine. Both of us also made some cuts at the Accuquilt booth "make & take" station at Quilt Con that we hope to add to our covers. So that too is another project for future sewing or the Fall trip back!
So a lot attempted but definitely not as many things finished up as hoped. Our next visit in September will be quieter as the annual NC Shop Hop dates have been changed to May/June so we won't have that to participate in. We will be coming in time for the guild meeting that month. If DH and I come down on the Friday before as we did this time, that will also lessen the impact on the rest of the time spent there. And thus ends the maximalist-mini retreat report!