
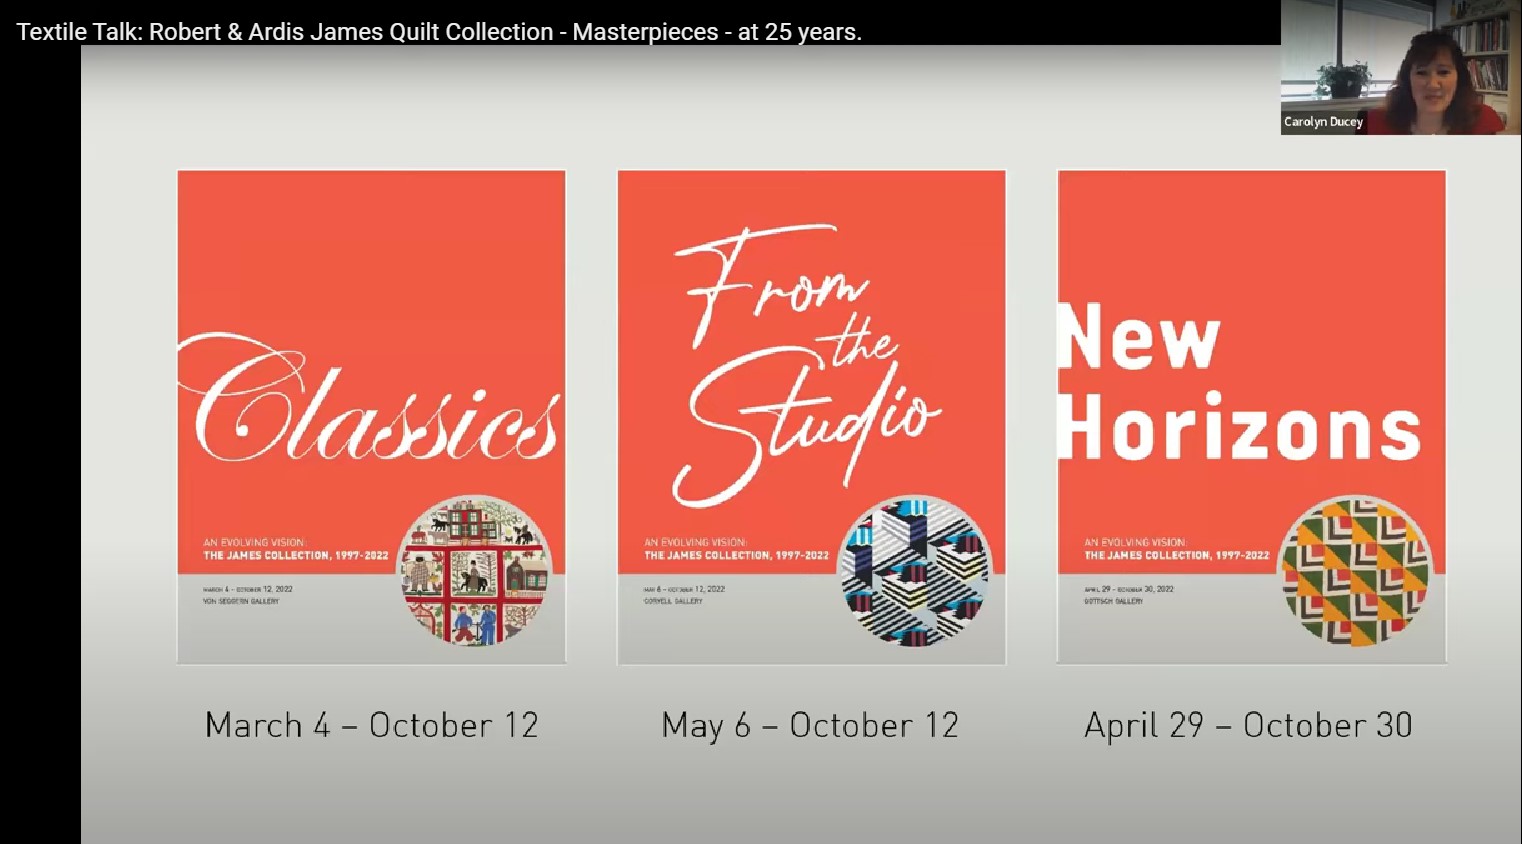
June started off well enough! On the first day of the month, I got to see the International Quilt Study Center Textile Talk on the 25th Anniversary of its founding. The museum was started with quilts from the Robert & Ardis James Collection.
Once the month got underway, I set out the Red, White and Blue quilts for the Summer season. I soon realized that two spots needed some additional pieces to fill some decorating holes. The first of those was at the top of my entry staircase

 |
| When the "Pioneer Sampler" and "Honoring the Journeys" hung in the same spot. |
Americana Lone Star
It can be fun to look around for inspiration for a new quilt project. However, sometimes you find out you already have what you need! I started my search on the All People Quilt website (for the American Patchwork and Quilting magazine) since they often post compilations of "theme quilts" that showcase designs (or color options of designs) that have appeared in their past issues. Almost immediately in a slideshow of "Patriotic Quilt Patterns", I saw a design that I knew I had already downloaded a few years ago.

The "Americana Lone Sar" is a one block color option quilt made by Laura Boehnke. It was inspired by Laurie Simpson's "Reach for the Stars" quilt design that appeared in the APQ October 2008 issue.
 |
| Laura's color option is of one of the corner setting square blocks from this quilt. |
The possibility of making this one excited me for two big reasons:
#1: Making a Lone Star project is one of the last six things on my original quilting "Bucket List". I do have two Lone Star projects already "fabric funded" that have long been waiting to be started. However, both of those are bed-sized quilts so would take a lot more time and focus to get underway. I figured that this project -- essentially one big block -- would be easy to make and get done quickly.
#2: I liked the color scheme of this one "as is" and knew I had fabrics in stash that I could use to make it up. Needless to say that is always a "start your engines" sign if there ever was one!
When I sat down and reviewed the pattern though, I realized it made a quilt too big for the space where I wanted to hang it. I figured out that if I made it using smaller blocks (6” corner blocks rather than 10”), it should fit my space. However, then I wasn't sure what size strips to use to piece the center Lone Star. I assumed that 1-1/2” finished (2" cut) strips would do it since the strip sets use four strips but I needed to run a test to be sure.
I had a limited amount of the fabrics I wanted to use for the project so didn't want to dip into them for the test. Fortunately, at the time I had also embarked on yet another project that I was hoping to make up to use for Angela Walters' (then) recently announced free-motion quilting challenge. I planned to make that one up in shot cottons (more on that later). I had a healthy enough stash of those fabrics to do both the FMQ project and the LS test. I picked some colors of the "shots" from what I was already previewing for the other project and cut enough strips to sew up two star points to test the size. (Darn it! I didn't take a picture of those but you will see the finished block I made with them in the recap post for July).
Ultimately, my assumption on the strip size proved right although I also tried a slightly smaller width strip set as well. I pieced the corner Lemoyne Star blocks using my favorite Deb Tucker "Rapid Fire" ruler and instructions.

I also wound up cutting a new set of the diamonds for the outer star points of the center Lone Star. I had used a striped fabric in that position and wanted the stripe to be centered and run out out to the tip. I thought I could do it with strip cuts but when I pieced together the strip set that included those points, it didn't work. I had to go back and fussy cut the points individually to make them go the way I wanted.
The most difficult thing in sewing this up was to get the seam allowance intersections in each star point to line up! Even after re-sewing them a few times, I still wasn't quite happy with the results. Fortunately, I found a tutorial on making Lone Star blocks that provided the key to a better pieced block: pressing the seams on the strip sets open to make it easier to line up the intersections using pins. In addition, it's better to mark the top seam allowance from the wrong side (I had been marking both on the right side).
When I tried it that way (after going back and pressing open my “pressed to one side” seam allowances), the result was so much better! The downside was that it made it much slower going to get the star points done.

In the end that worked out well enough for this "quick" project. My Lone Star is like so many I've seen described: it's not exactly “flat” and bubbles a bit in spots. The condition was helped a bit by a good press but I expect that I will also have to try to “quilt it out” later! I added borders in the same way that the pattern did although I wound up having to adjust the width of the borders I originally cut when they visually seemed to overwhelm the center.

I had decided that another way to help "quilt out" any puffiness would be to use a high loft batting. I didn't have any on hand the size I needed and didn't want to cut into a larger batt. However, I did have leftovers of two battings that together would give me the loft I wanted.

For the backing, I decided to just use a leftover piece of the background fabric used in the setting star blocks. With everything now ready for quilting, I set it aside to work on some other things and then I would come back to quilt it. Unfortunately that hasn't happened yet! So despite embarking on making this to display this year, I hope I can finish it up in time to display next Summer!
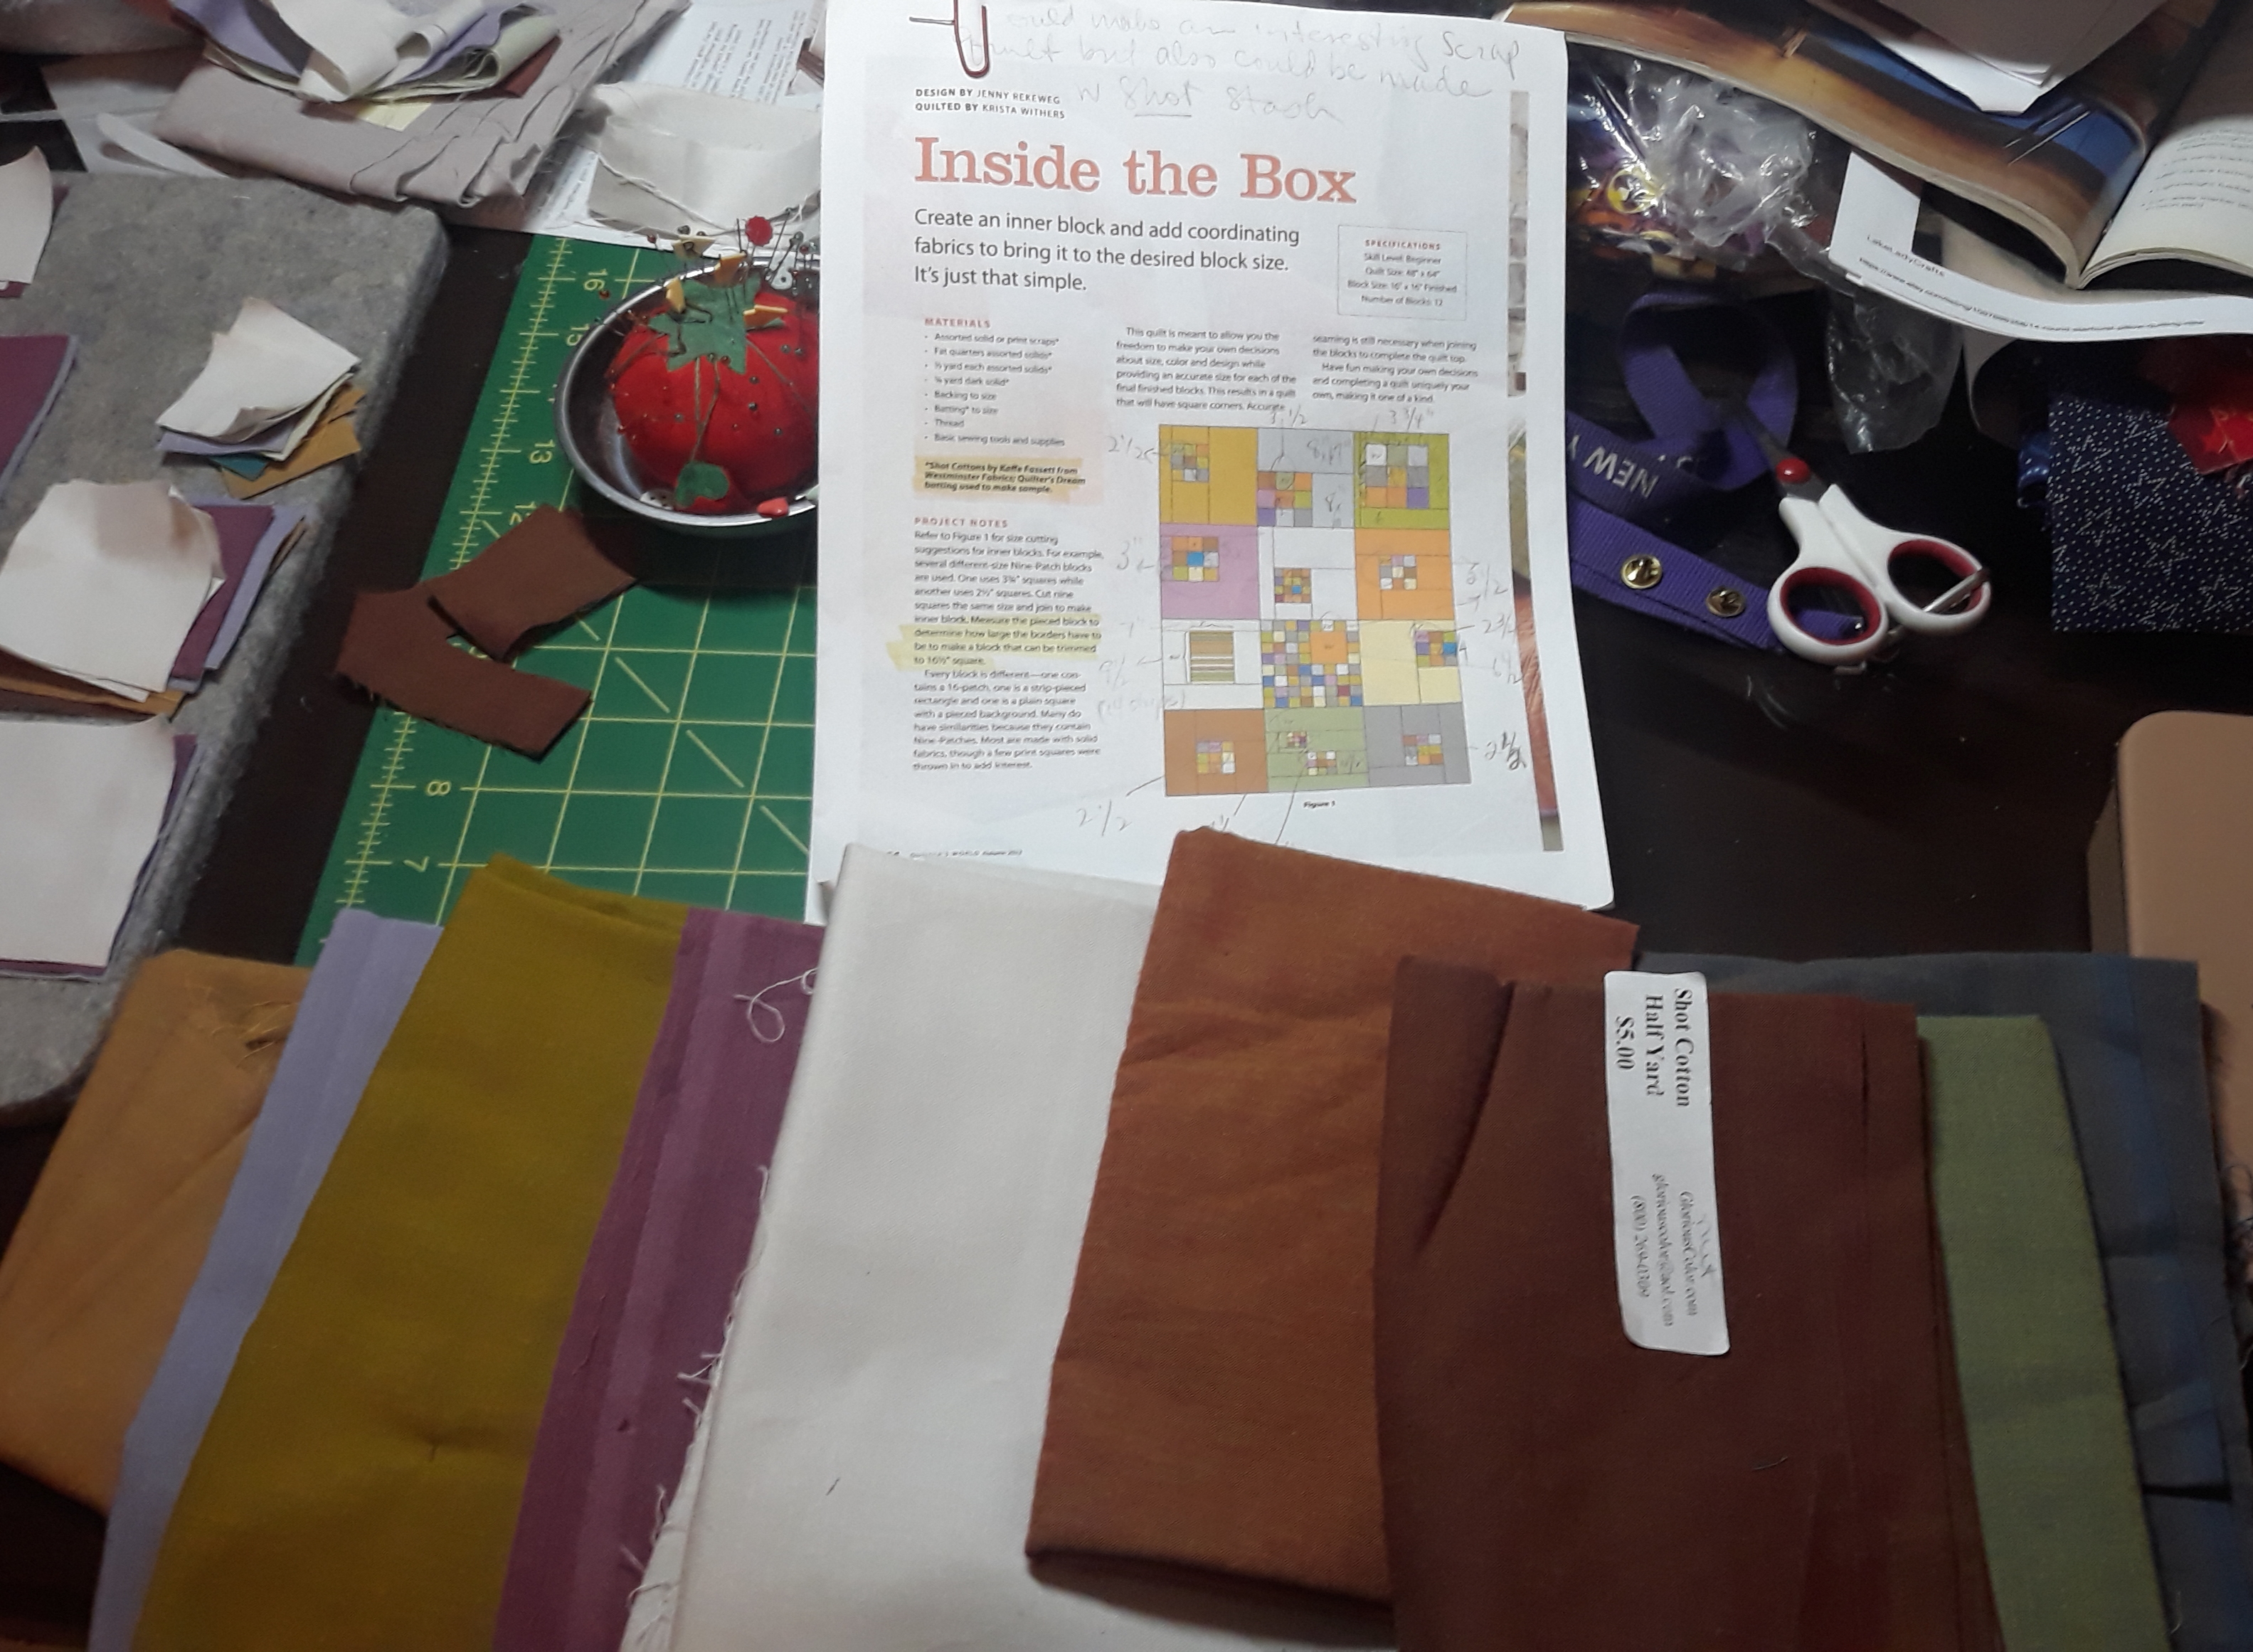
Inside the Box
In addition to trying to get quilting practice using the "Realigned" project, in May Angela Walters announced that another of her Free-motion quilt challenges was to begin late in June. The theme of this challenge is "Fillers" - repeating stitch patterns that can be used to fill a background or around applique. Multiple patterns can also be stitched together across an area creating the look of "graffiti quilting". I loved the idea of this since her Fall challenge had been such a boon in getting two quilts done earlier this year. I still need to get more comfortable quilting my projects on the mechanical machines I use now so I really need to do the quilting on my projects more frequently.
At the time, I had planned to use my Gee's Bend quilt top to do the challenge because I again wanted to use a top that was divided into large open sections of various sizes. However, that plan (like so many of mine) wound up changing completely! I already had a plan for stitching the Gee's Bend top as well as what color threads I wanted to use on it. I just didn't see any of that working with the "Filler" practice. Then I remembered a pattern I had found many years ago:

This is "Inside the Box" designed by Jenny Rekeweg which appeared in the Quilters World issue from August 2013. The patterned quilt was made up in shot cottons and at the time I originally saw this I wanted to stash those. So I watched for sales and specials and over time built up a good stash. Ironically, the way the finished quilt was quilted in the magazine corresponds to exactly the types of motifs Angela would be covering in her challenge.
 |
| Quilted by Krista Withers |
Additionally I love that I would now finally get to use that stash (well, I did use a bit of it to make a mug rug gift many years ago which can be seen at the bottom of this post). Even better, this would further my efforts to improve my quilt stitching comfort. I pulled fabric I had in that stash that corresponded to the color blocks in the pattern:
I decided I needed a few more colors to make this work so ordered them. As a result this project then moved forward into July to be continued. More on that in the next post!


1 comment:
Your Lone Star is looking good! I have never tried that pattern either, but can see that getting it all to sit flat with meeting points would be a challenge.
Love the Inside the Box pattern! Looks good and will give lots of opportunity for practicing filler quilting designs.
Post a Comment